Scala Environment Setup – How to install the IntelliJ IDEA
Overview
In this tutorial, we will go over how to install the IntelliJ IDEA to help us write and execute our Scala code.
Sadly, most tutorials about Scala show how to use Scala in it's REPL, which is a command line tool where you can write and run your Scala code. But, would you be able to secure a Scala developer job by just knowing the REPL? Probably not :(
For this reason, throughout our tutorials, we will use the popular IntelliJ IDE in order for you to get familiar with it. This will prepare you for real world Scala coding.
If you are coming from a Java background, you may have been using the Eclipse IDE. If you prefer the Eclipse user interface, then another IDE for developing Scala applications is the Scala IDE. But, throughout our tutorials, we will use the IntelliJ IDEA.
NOTE:
- I've added the step-by-step instructions below more than a year now. Of course, the IntelliJ IDEA has had several new updates. While most of the steps outlined below are more or less still relevant, let us take another opportunity to provide a more detailed tutorial on the latest IntelliJ IDEA code editor, which you can find here.
Steps
1. Install IntelliJ for Mac
To install the IntelliJ IDE, open a browser and navigate to the download page from the JetBrains website.
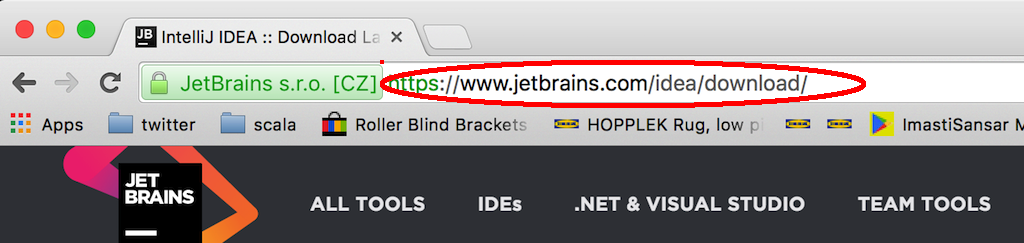
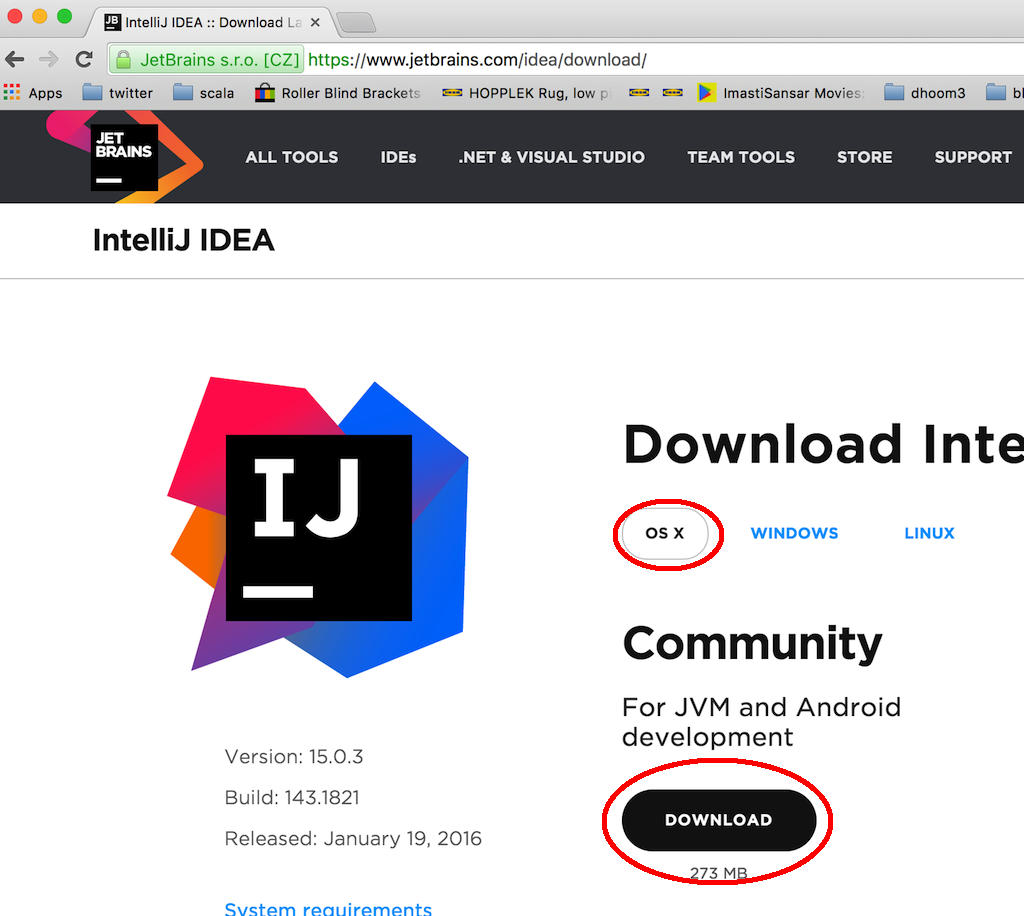
At the time of writing this tutorial, the version of IntelliJ is version 15. Next click on download for OS X to start downloading the installation file onto your Mac.
Open the downloads folder and double click on the installation file which in our case is named ideaIC-15.0.3-custom-jdk-bundled.dmg

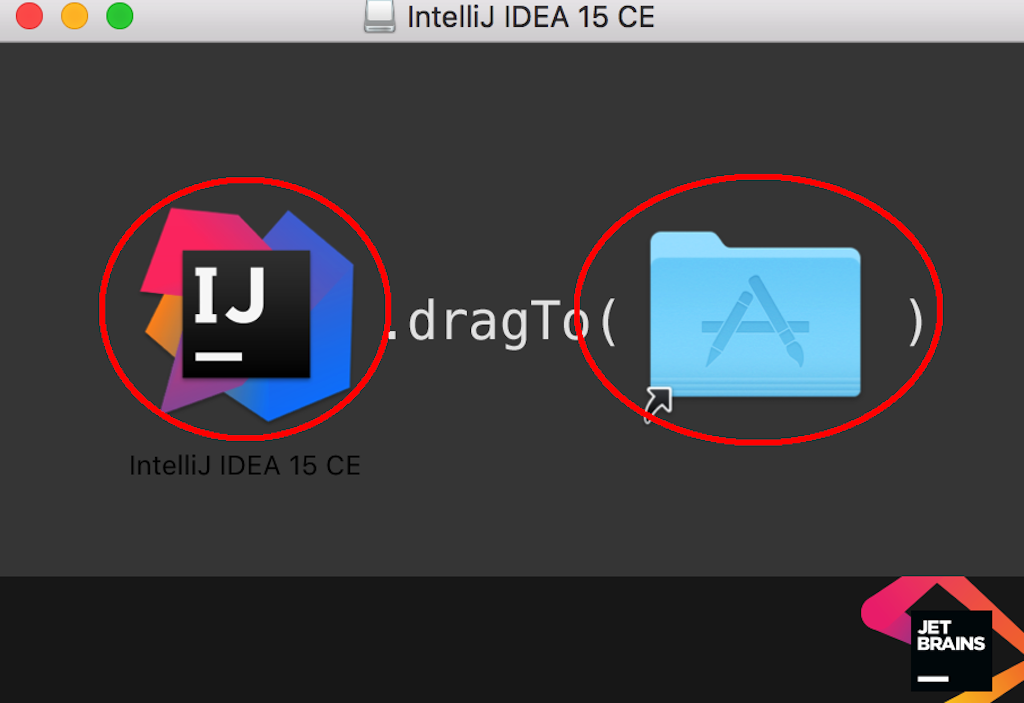
In the installation window, drag the left Icon named IntelliJ to the Application folder on the right.
Open Finder window by clicking on the finder icon on your task bar:

On the left hand side in the Finder window, click on the Applications folder which will then show a list of applications installed on the right panel.
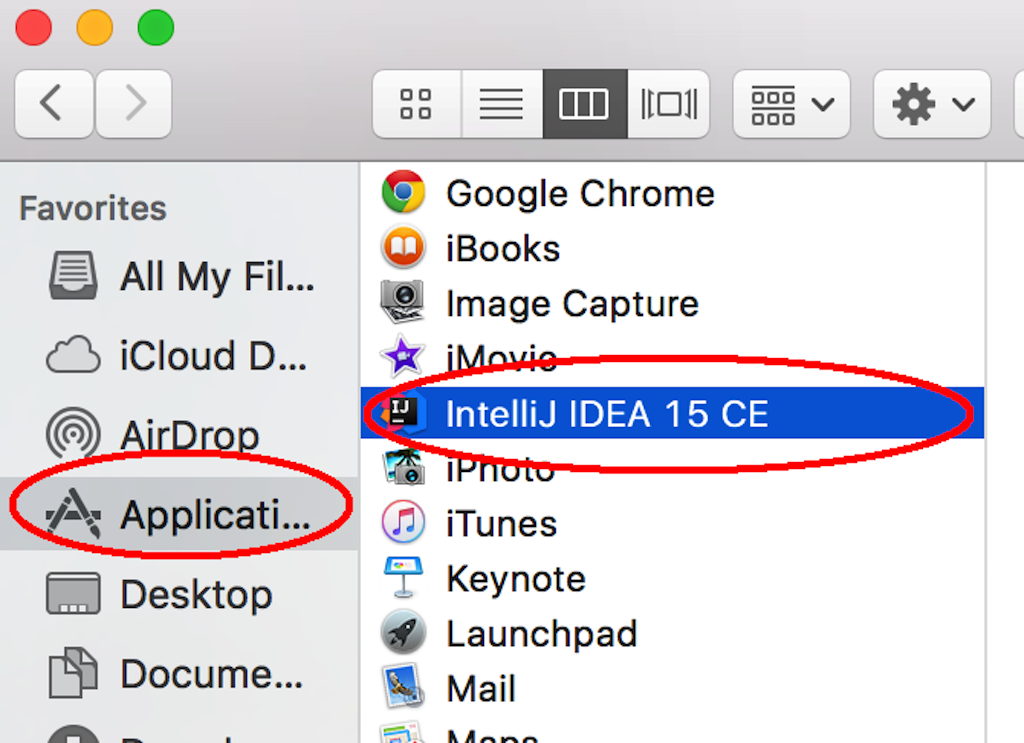
Click on the IntelliJ IDEA icon in the Applications folder to select it and drag it to your task bar in order to create a shortcut:

Viola! You now have IntelliJ successfully installed on your Mac. You can skip Step 2 below and proceed to Step 3 to start using IntelliJ.
2. Install IntelliJ for windows
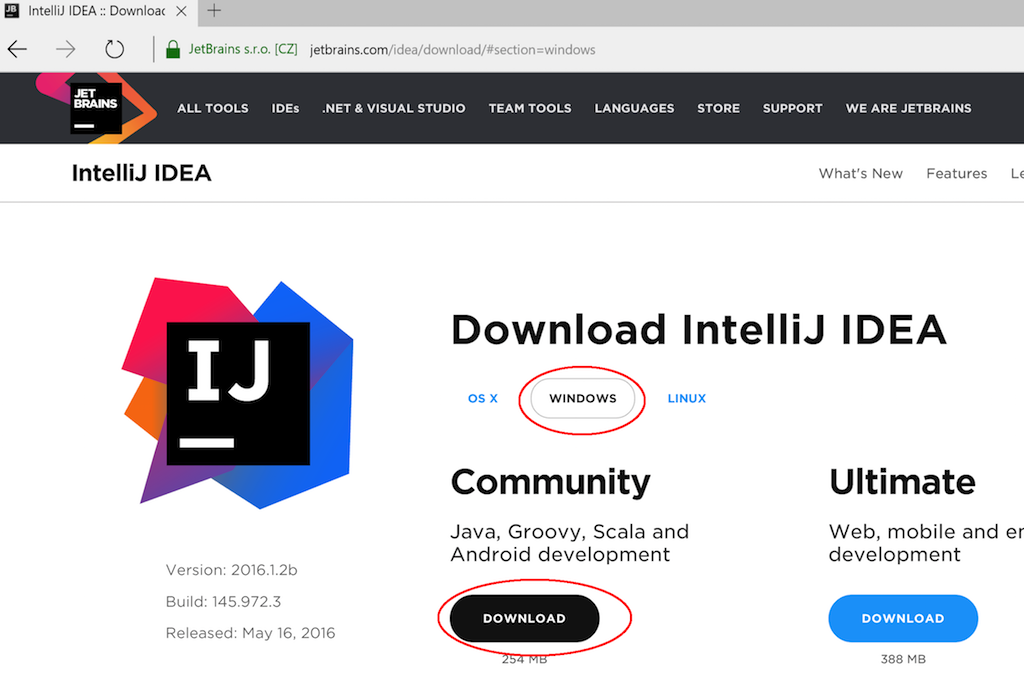
To install the IntelliJ IDE, open a browser and navigate to the download page from the JetBrains website.

At the time of writing this tutorial, the version of IntelliJ is version 15. Next, click on the download for Windows button to start downloading the installation file onto your Windows computer:
When the download is completed, click on the Run button to start the installation:

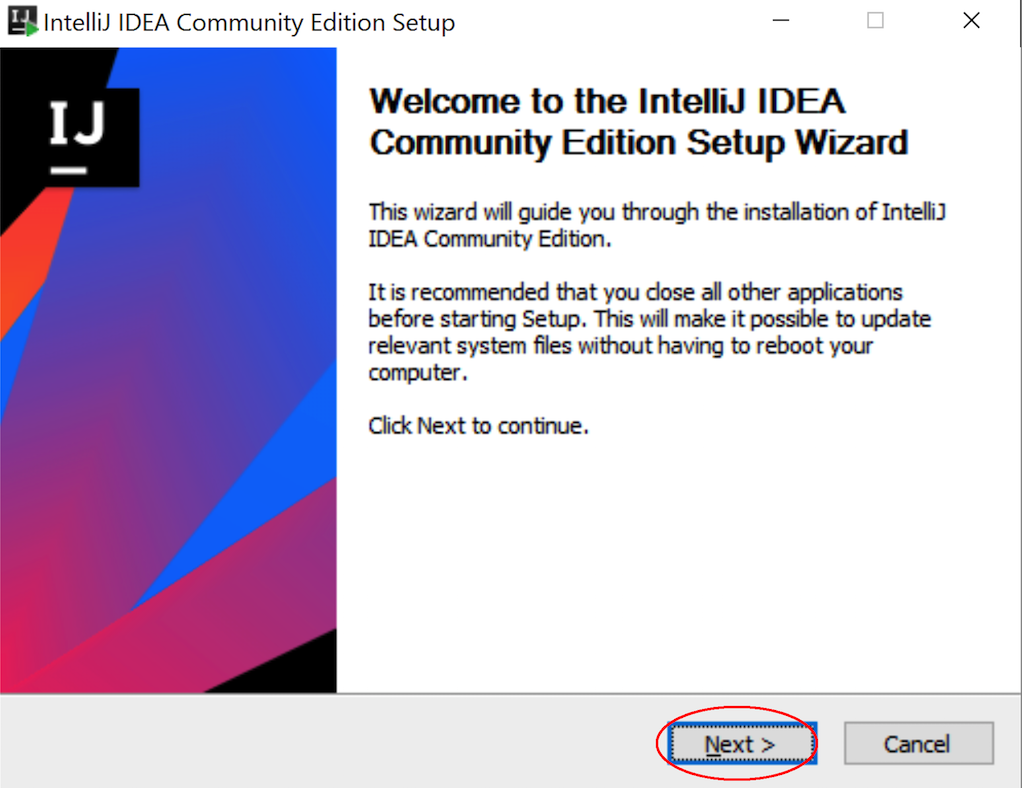
This will launch the installation wizard and click on the Next button:
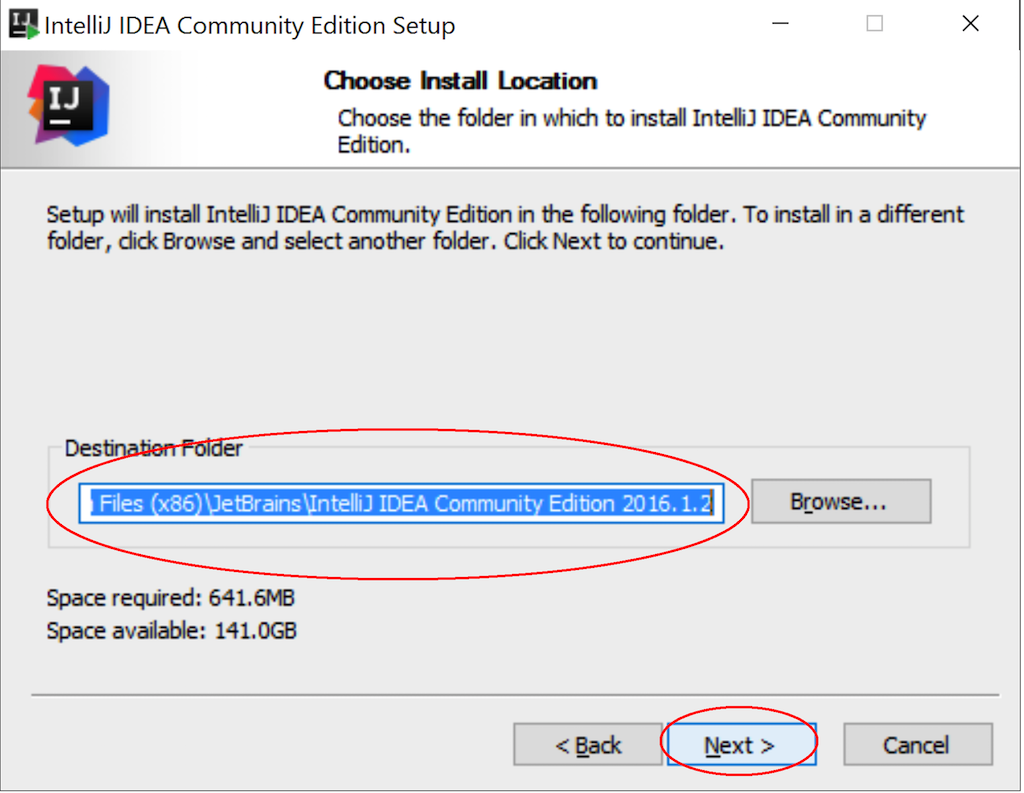
The next screen will show you the directory for the installation files, and click on the Next button:
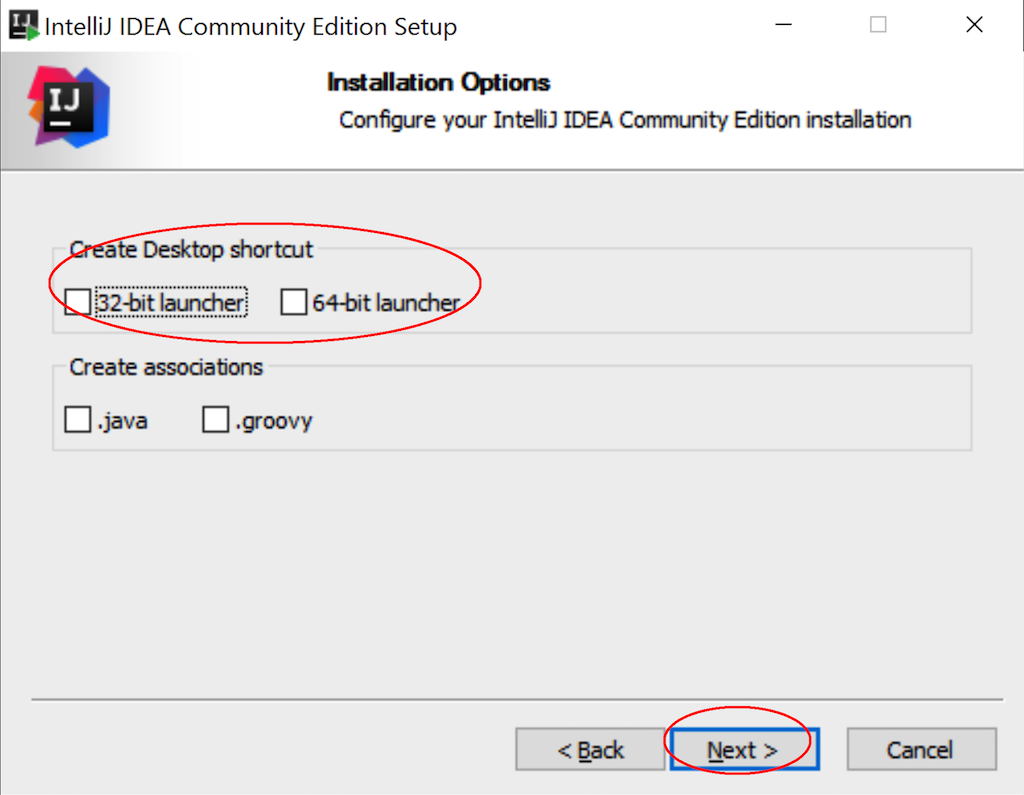
The next section shows some options such as creating a 32 bit and 64 bit desktop shortcut icon. You can leave the default and click on the Next button:
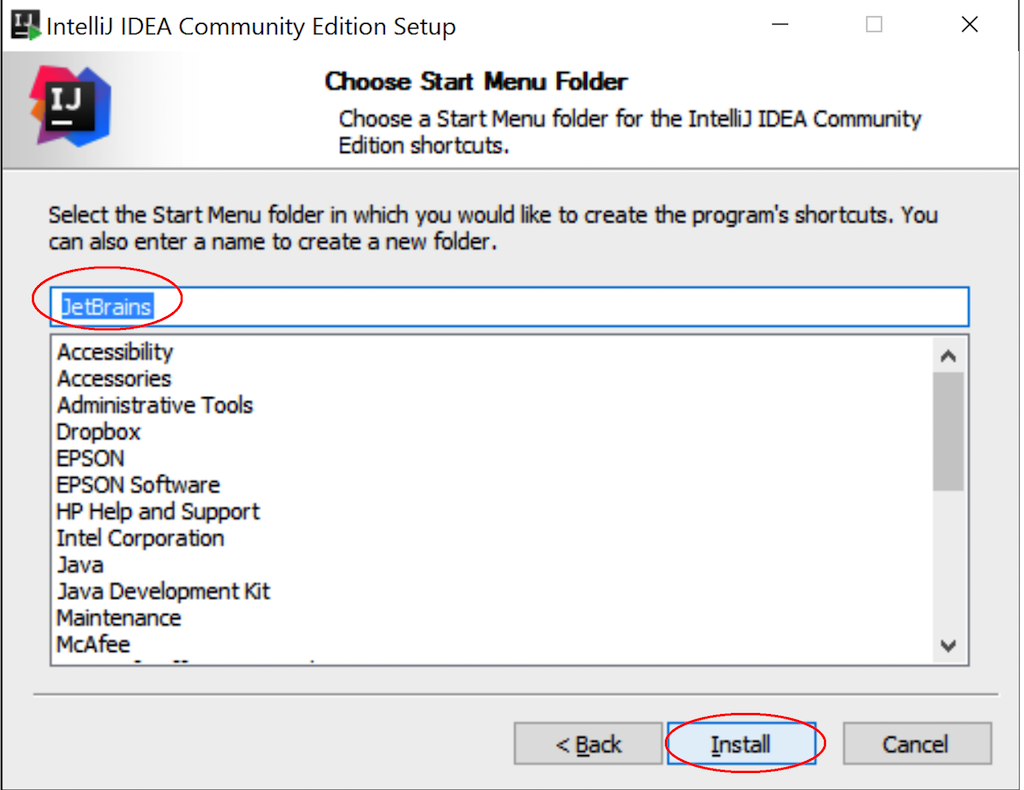
The next screen shows the Windows Start menu group which will be created. You can leave the default and click on the Install button:
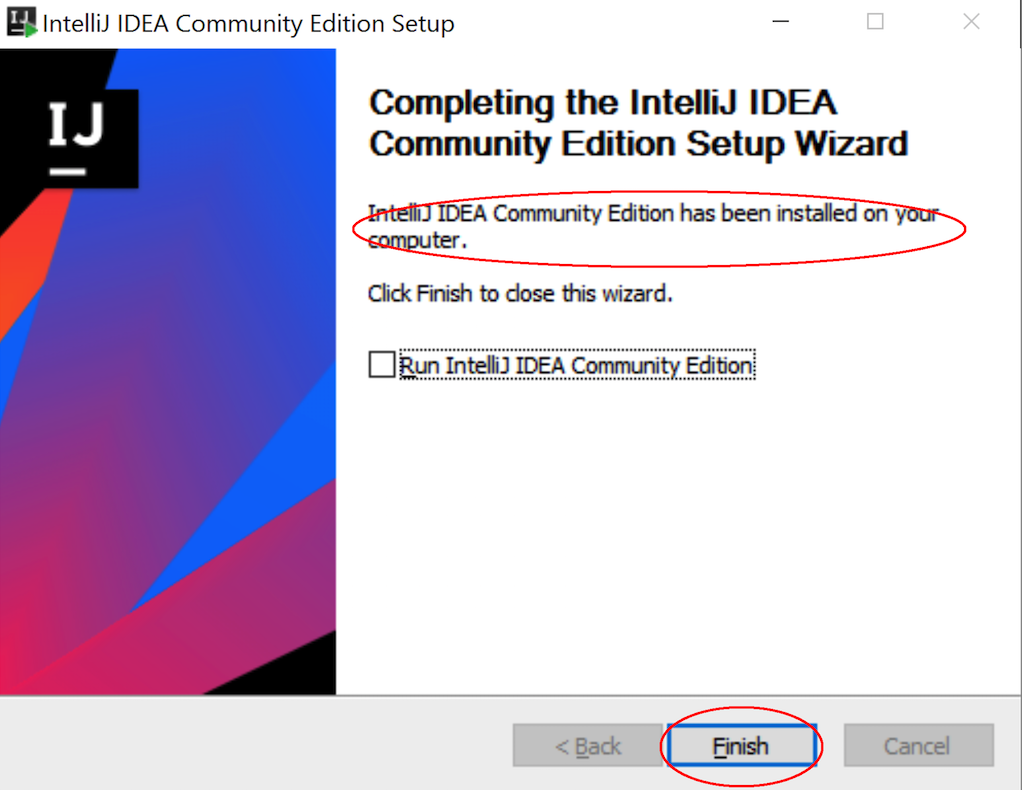
When the installation is completed, you will see a success dialogue and click on the Finish button:
3. Launch IntelliJ and change default setting to Dracula:
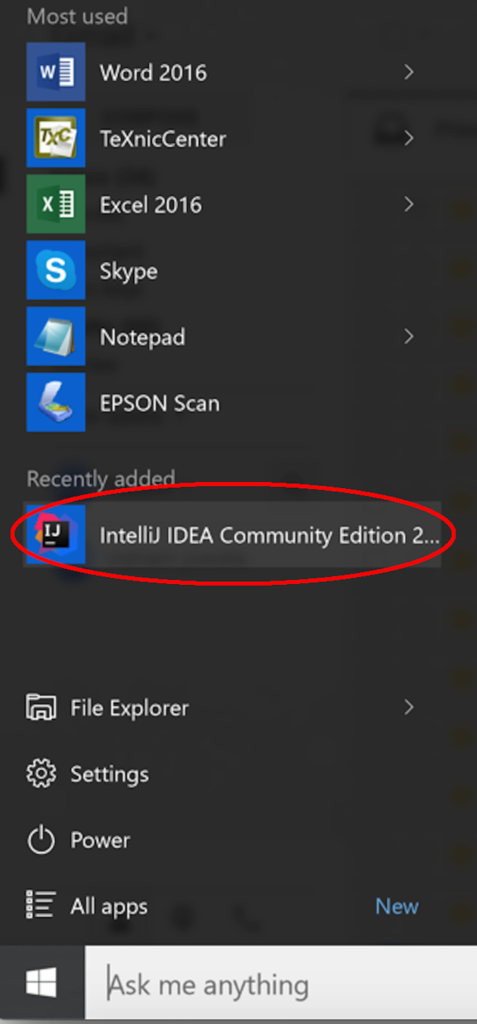
Click on IntelliJ icon from either Step 1 or 2 to launch IntelliJ.
On Mac:

On Windows:
You will be prompted to select the UI theme. Select the Dracula Theme if you prefer a darker background.
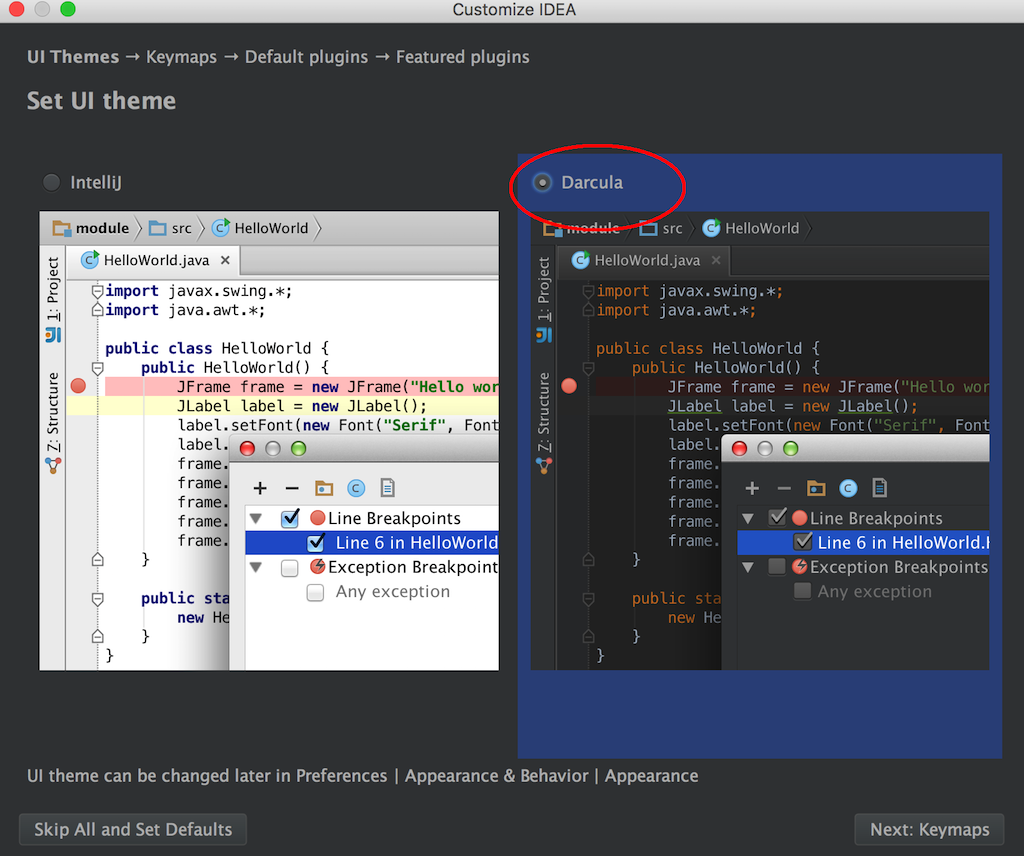
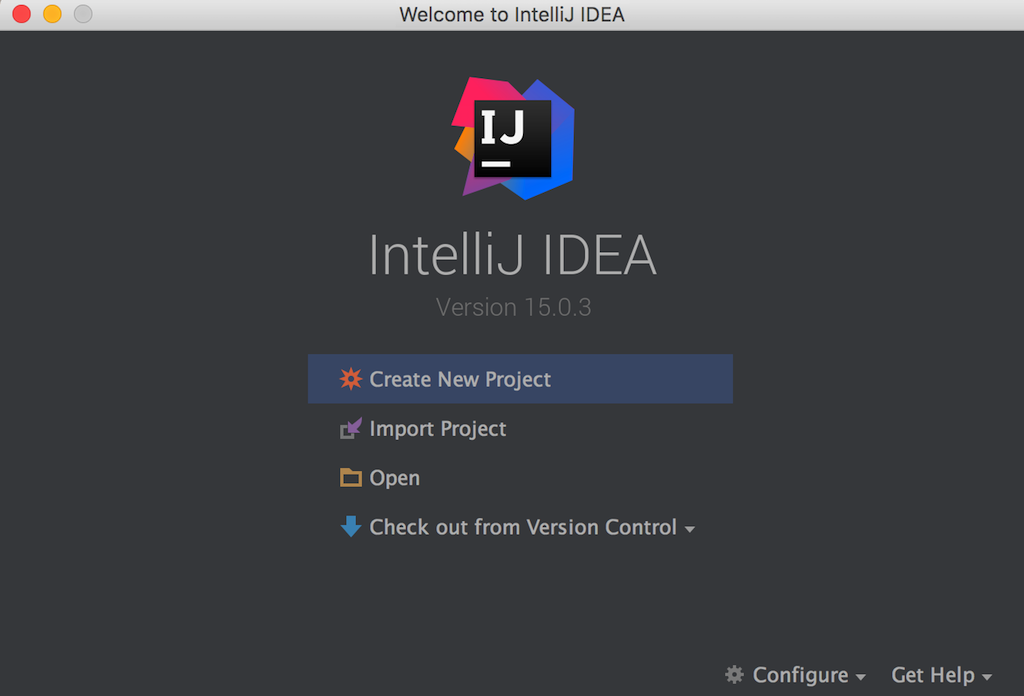
You can click the button on the left hand panel named Skip all and Set Defaults. This will launch the IntelliJ main window.
This concludes our tutorial on Scala Environment Setup - How to install IntelliJ IDEA and I hope you've found it useful!
Stay in touch via Facebook and Twitter for upcoming tutorials.
Don't forget to like and share this page :)
Summary
In this article, we went over the following:
- How to install the IntelliJ IDE on a Mac or on Windows.
- How to default the IntelliJ theme to Dracula black.
Tip
- While the darker Dracula Theme is very popular, don't feel socially pressured to use it :) If you like the white background, it's perfectly fine too :)
Source Code
The source code is available on the allaboutscala GitHub repository.
What's Next
In the next tutorial, we will go over the Scala plugin for IntelliJ which will allow us to easily create and run our Scala applications within IntelliJ.
Stay tuned!


