Your first Scala Hello World application
Overview
In this tutorial, we will go over how to use IntelliJ IDE to create your first Scala application. If you have done previous programming in other languages, you will certainly have come across the infamous Hello World program.
So, without wasting any time, let's get started with our Hello World Scala application.
Steps
1. Start IntelliJ
By now, you must have IntelliJ installed, otherwise simply follow the steps from the previous tutorials.
On Mac, click on the IntelliJ icon in Finder which we've previously setup.

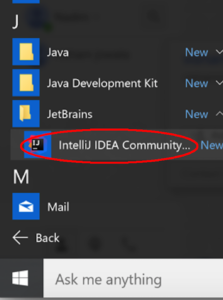
On Windows, click on IntelliJ menu item from your Windows Start menu:
2. Create new project
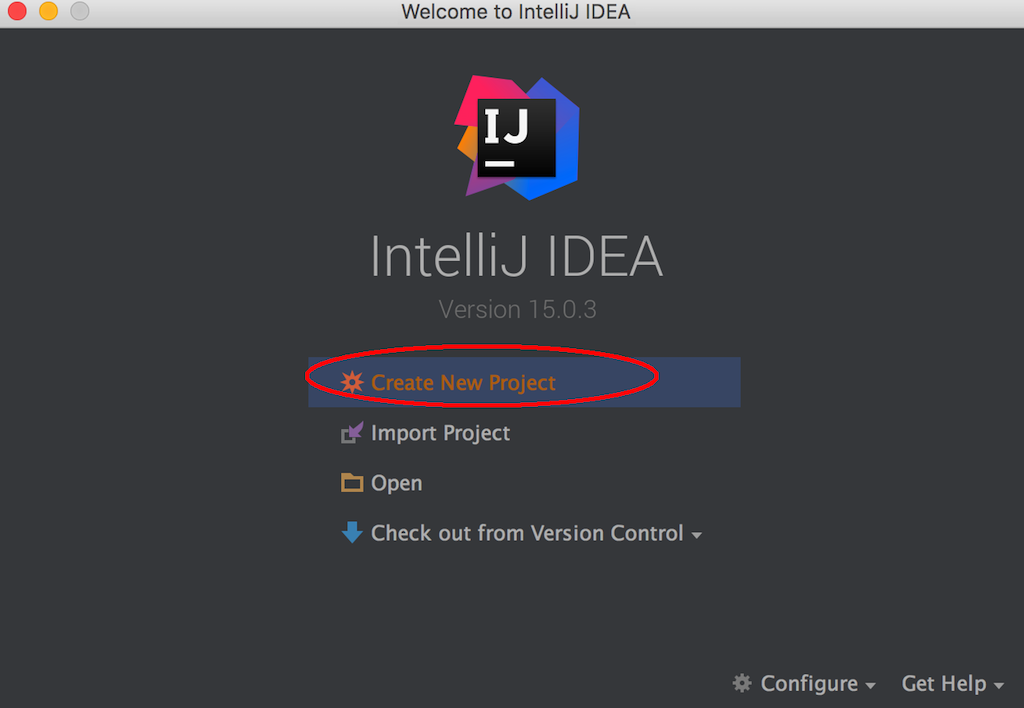
From Step 1, you will now see the IntelliJ welcome screen, so go ahead and click menu "Create New Project".
Next, click on Scala in the left panel and then click on SBT in the right panel. Next, click on the Next button in the bottom right corner.

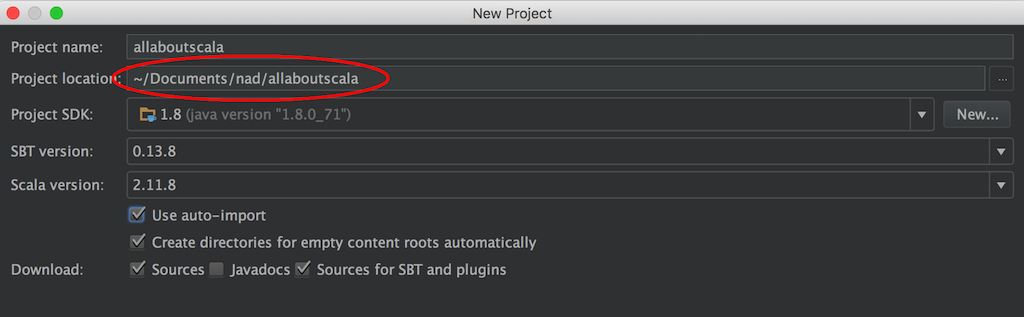
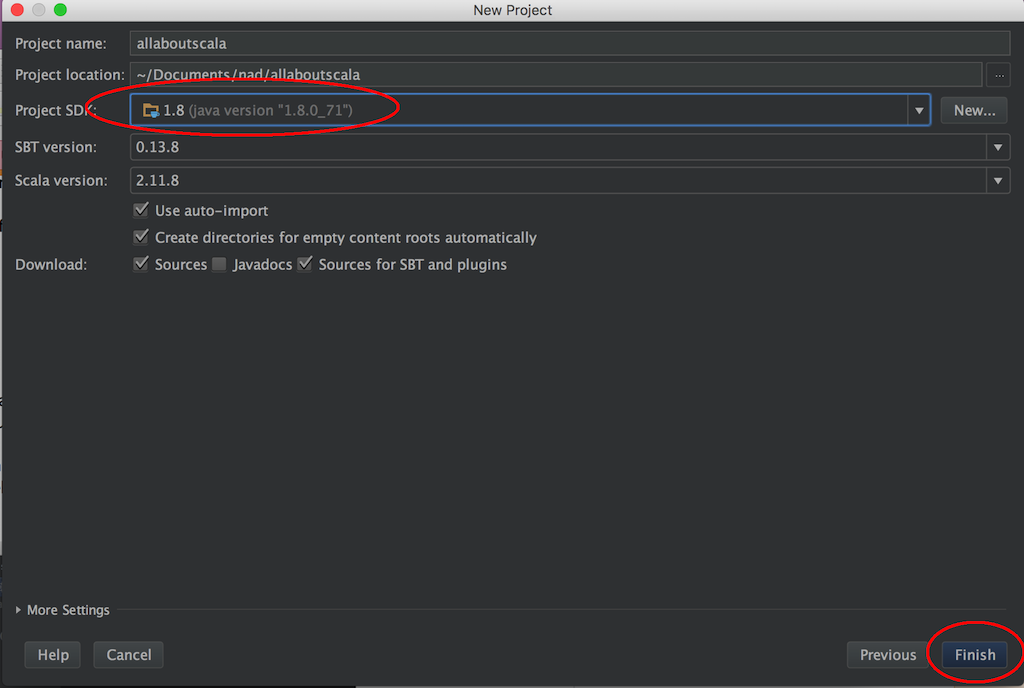
Enter your project name and location which in this tutorial will be called: allaboutscala
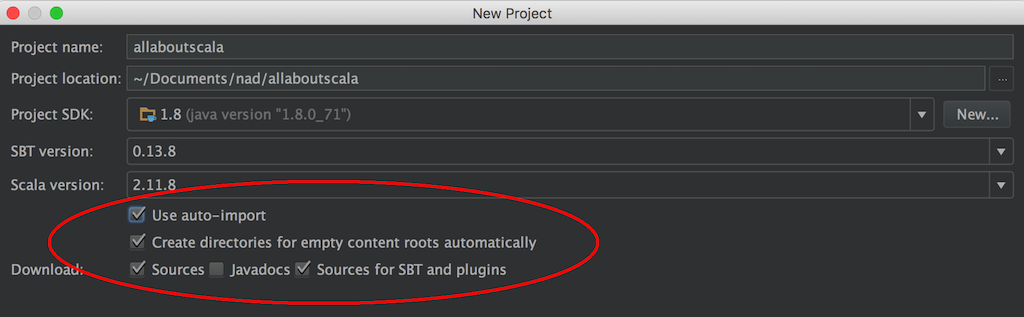
At the bottom of the screen, make sure the following are checked:
- Auto-import
- Create directories for empty content roots automatically
- Sources
- Source for SBT and plugins
At this point, do NOT hit finish button yet! But don't worry we are nearly there 🙂 Because it's your first Scala project, you have to tell IntelliJ which JDK to use as shown in Step 3 below.
NOTE:
- If you do not have a JDK installed, you can follow the instructions from the tutorial on Installing JDK.
3. Setup JDK
Click on the New button which is located alongside the "Project SDK" textbox.

A new window will open which should show you the location of the JDK. Check that the path is correct and hit the OK button.
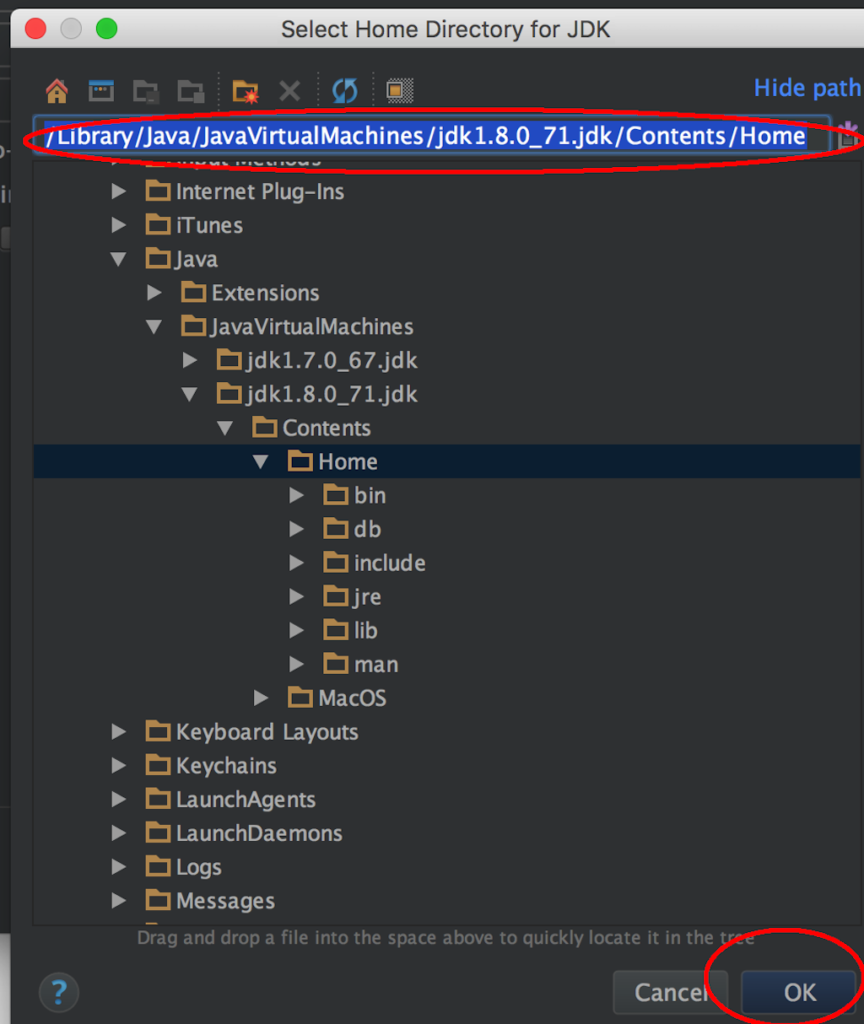
You should now have a JDK set for your project. Go ahead and hit the finish button.
4. Create first package
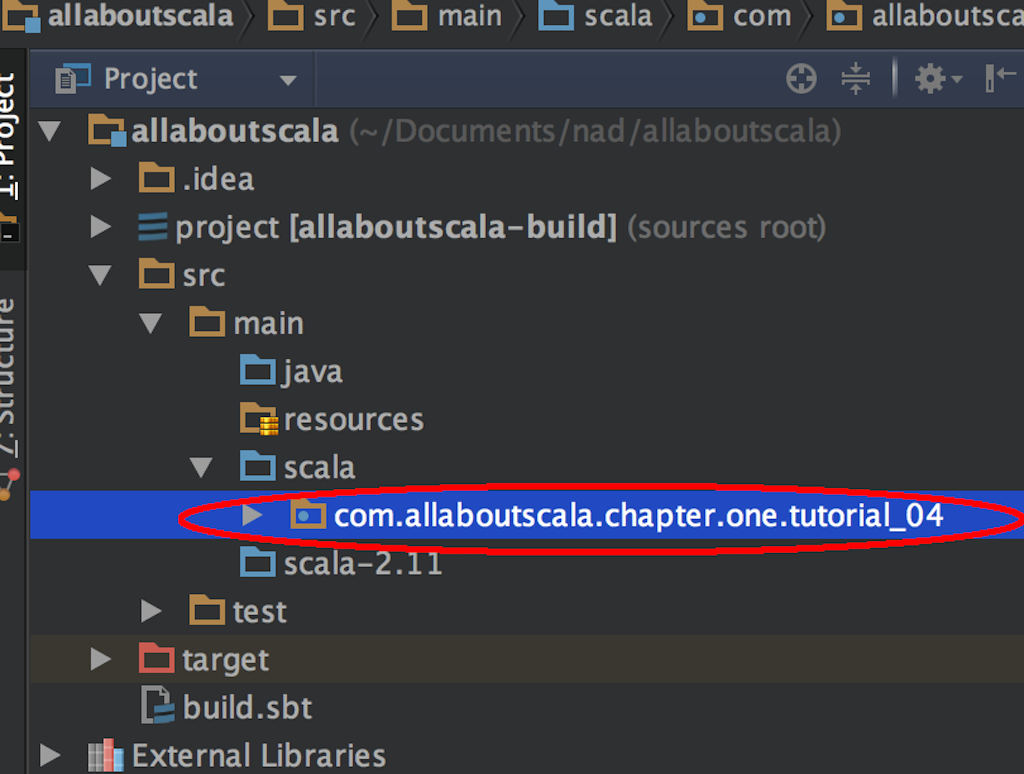
You should now see a Project panel on the left hand side which shows the project structure for your Scala project named "allaboutscala".
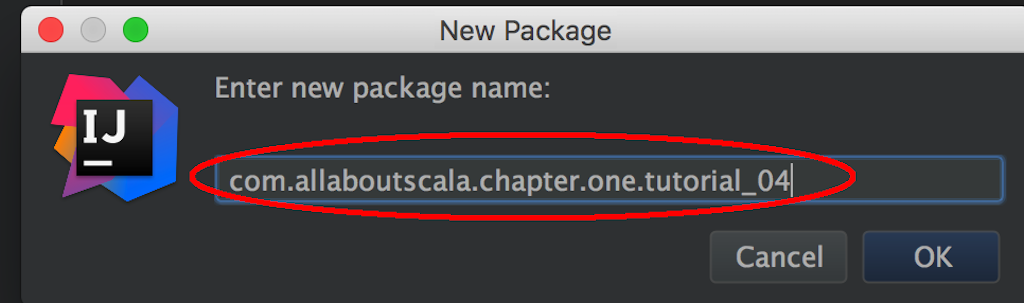
Next expand the folder "src", then "main" and then right click on the "scala" folder. A popup menu will open where you can go ahead and select "New" and then click on "Package"

You will see a popup textbox and type in "com.allaboutscala.chapter.one.tutorial_04" and click the OK button.
In the Project Panel, you should now see your package created as follows:
NOTE:
- If you are new to programming, think of a package as being a folder structure where you will arrange your code base.
- The general convention is to reverse the domain of your company. As an example, for www.allaboutscala.com, I have prefixed my package structure in reverse order as "com.allaboutscala"
5. Create HelloWorld object
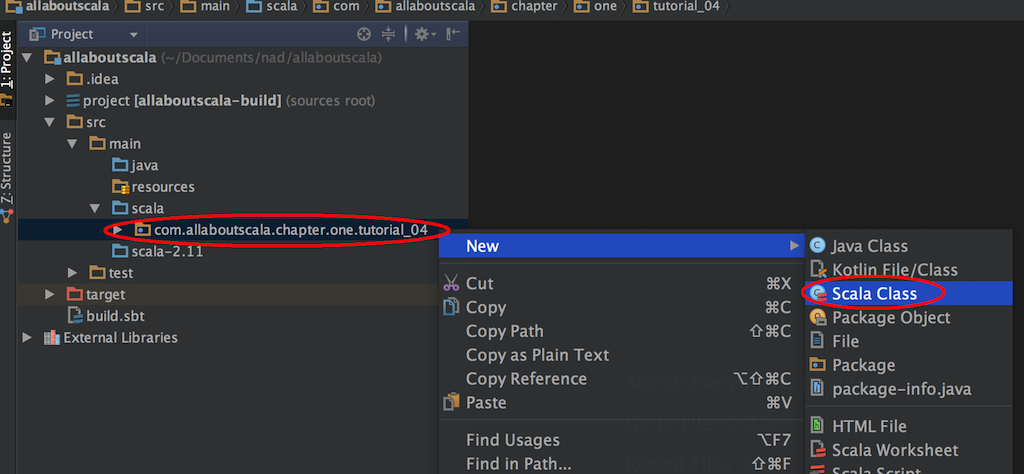
Next, right click on the package which you created in Step 4 and select "New" and then "Scala class".
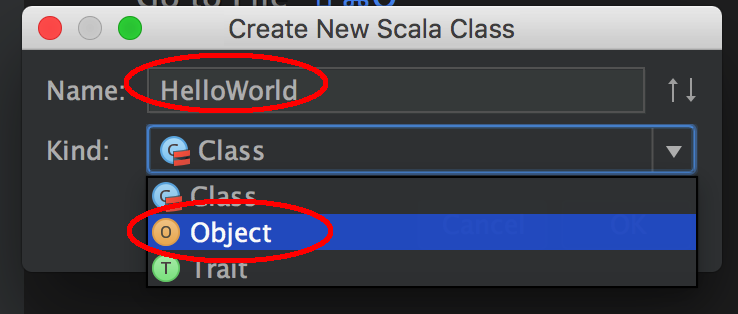
A popup window will open and type in "HelloWorld" in the Name textbox. Then, select "Object" from the Kind drop down and click the OK button.
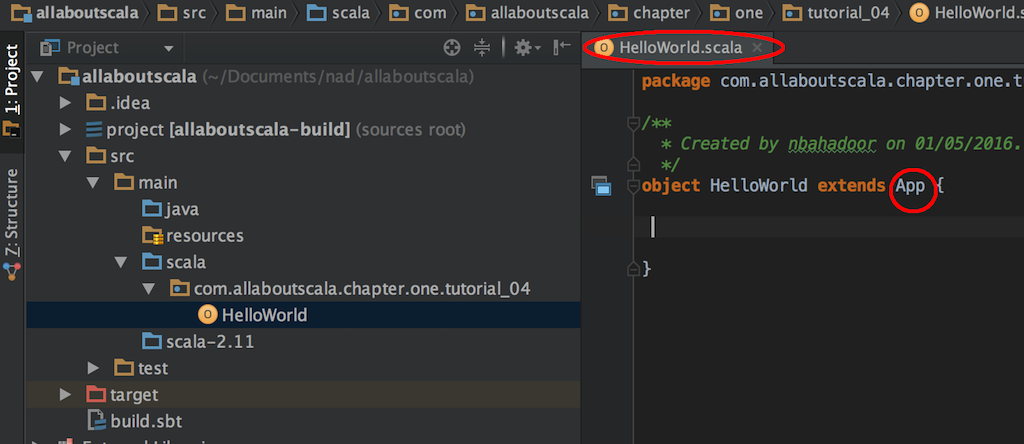
On the right panel, you should now see a "HelloWorld.scala" file created for you. At the very top of the file you will see the package name which we created in Step 4.
In the next line, right after object HelloWorld, type in extends App as follows:
Then, inside our HelloWorld file, following the first curly braces, type in println("Hello World from Scala!")
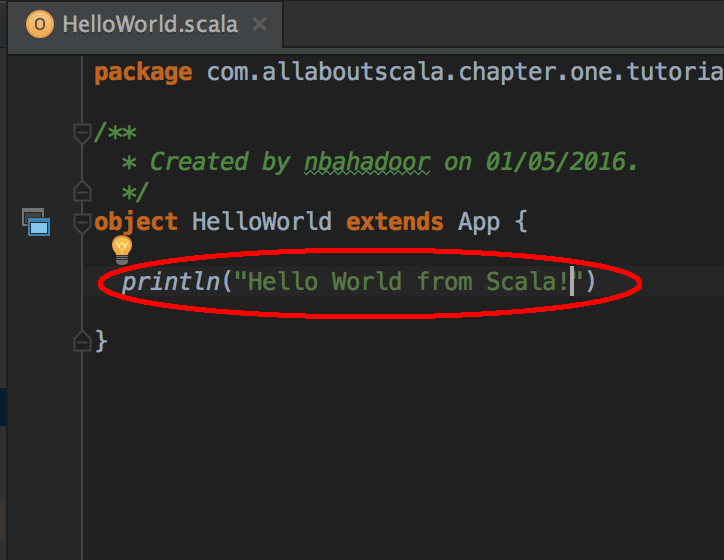
NOTE:
- In Scala, there is NO need to terminate the statement with a semi-colon as you would do in say Java or .NET!
6. Run HelloWorld
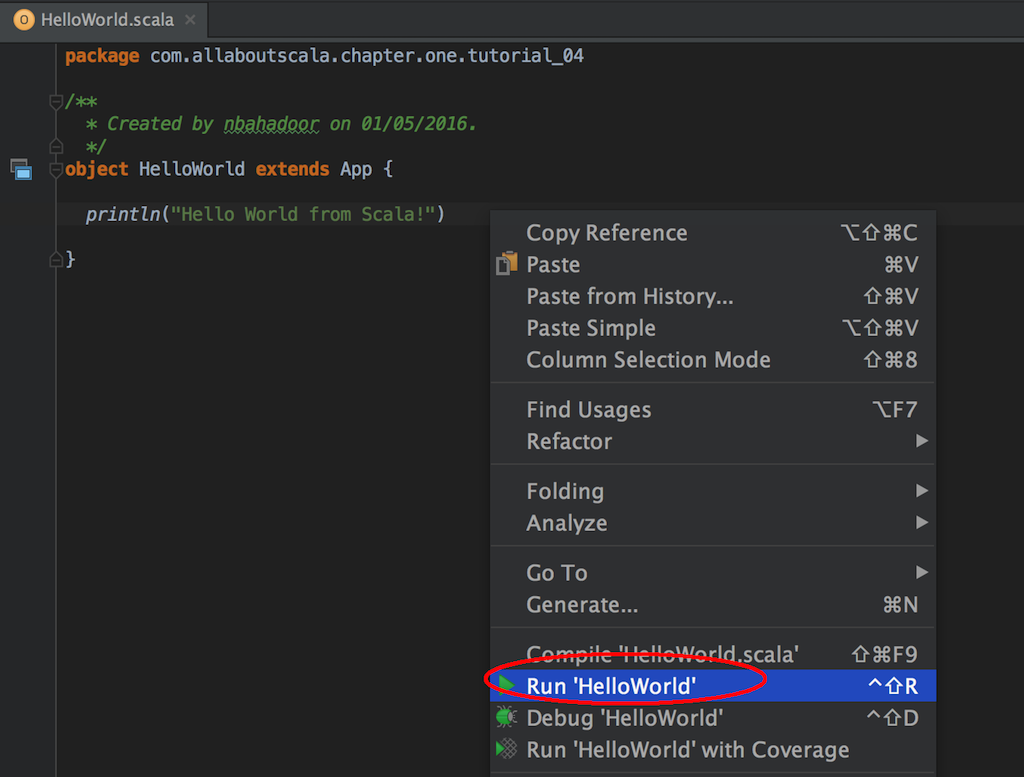
Next, it is time to run your first Scala application. Right click anywhere in the "HelloWorld.scala" file and select "Run HelloWorld"
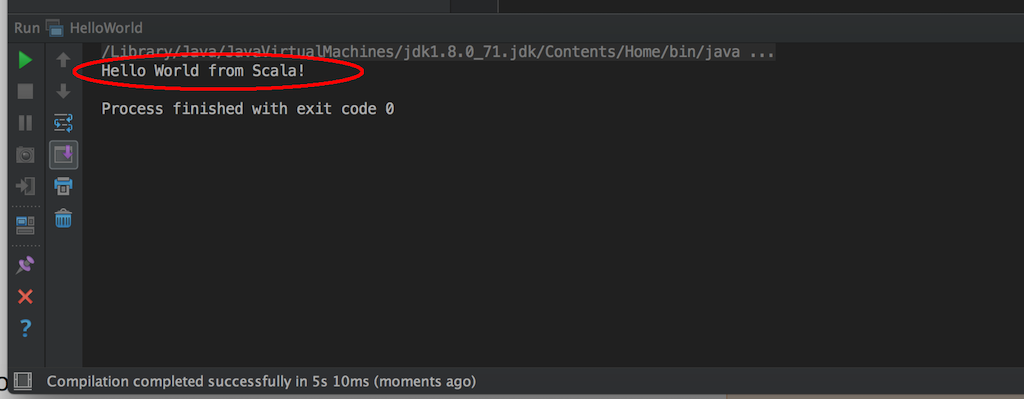
In the bottom panel, you will see that IntelliJ will first compile your code using the Scala compiler. Finally, you should see a new panel open with the result of your application which simply prints "Hello World from Scala!"
And that's it! You've just created and ran your first Scala application within IntelliJ.
This concludes our tutorial on Your first Scala Hello World application and I hope you've found it useful!
Stay in touch via Facebook and Twitter for upcoming tutorials.
Don't forget to like and share this page 🙂
Summary
In this article, we went over the following:
- How to create a Scala project in IntelliJ.
- How to setup a JDK for your Scala project in IntelliJ.
- How to run your Scala application within IntelliJ.
Tip
- If you are new to Scala, feel free to review the What is Scala? tutorial which outlines why the JDK is required for running Scala applications.
Source Code
The source code is available on the allaboutscala GitHub repository.
What's Next
In the next tutorial, I will go over in a bit more detail how to launch Scala applicaitons.
Stay tuned!


Share this article on