Scala Environment Setup – Install IntelliJ IDEA Version 2019
Overview
This tutorial is a much needed update on the previous instructions for installing the IntelliJ IDEA code editor. As a reminder, we will use the IntelliJ IDEA code editor to help us easily write and execute our Scala code.
If you have programmed in another language before in the like of Java, you may already be familiar with the IntelliJ IDEA code editor. Otherwise, that’s OK as we will walk-through the installation steps for IntelliJ. At the time of writing, the current version of IntelliJ is IntelliJ IDEA 2019.1.2 for the free Community download. There is also an Ultimate commercial option that provides additional built-in features. The features provided by the Community edition would be just fine to run the code snippets that we will demonstrate in this book.
It is worth pointing out that there are numerous editors that can assist you with writing Scala code, including, ScalaIDE, EMACS, and others. You can find further details on the support for writing Scala in other code editors at the Scala Documentation. We of course do not mandate the use of the IntelliJ IDEA code editor and, as a matter of fact, you should be free to code in whichever editor you feel most comfortable and productive. To follow along with this book though, and considering the widespread use of the IntelliJ IDEA code editor in an enterprise setting, we will proceed with the installation of its Community edition.
Steps
1. Install IntelliJ for Mac
In order to install the IntelliJ IDEA code editor, you first need to open a browser and navigate to the download page from the JetBrains website. You can then click on the Community icon, or link, to start downloading the installation file onto your Mac.

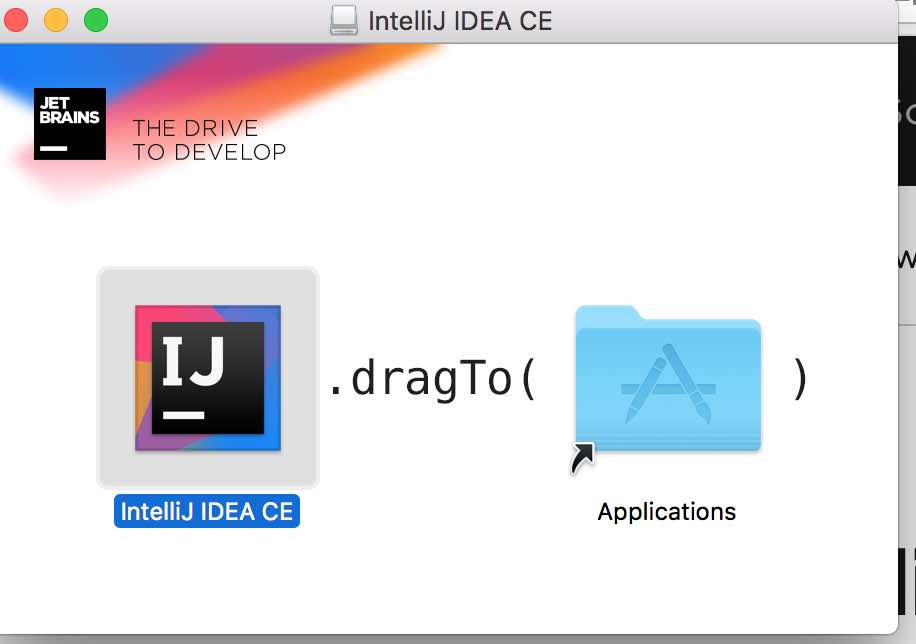
Once the download has completed, open the Downloads folder in Finder, and double click on the installation file: ideaIC-2019.1.2.dmg. This will prompt you to add the IntelliJ IDEA to your Applications.
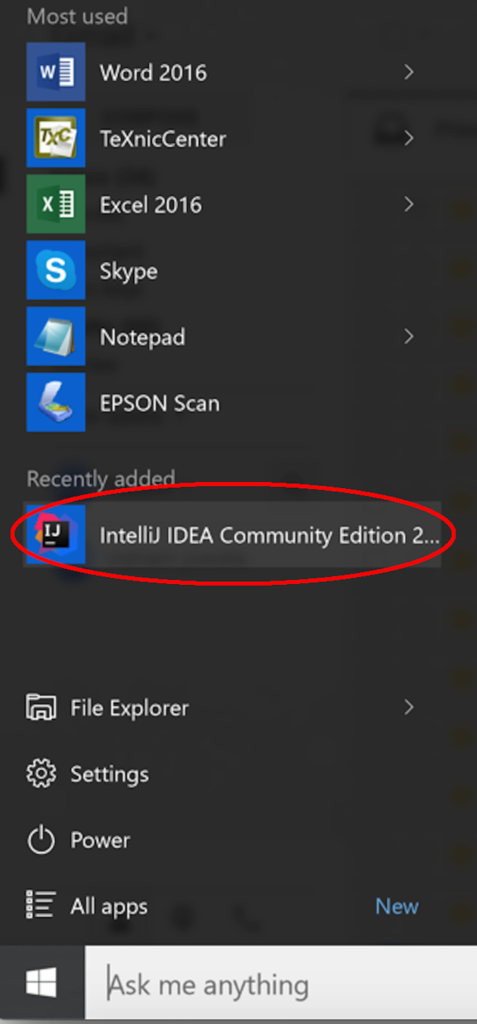
Next, use a Finder window and navigate to the Applications folder where you should see the IntelliJ IDEA CE icon (obviously the acronym CE stands for Community Edition).

You will naturally double click on IntelliJ’s icon in order to start the application. Notice however that on the first launch, IntelliJ will provide a splash screen that prompts you for some basic customizations - such as, the setting up of your preferred UI theme. You can choose to skip these initial setups as you can always make the necessary changes later by going through IntelliJ’s Preferences menu option.
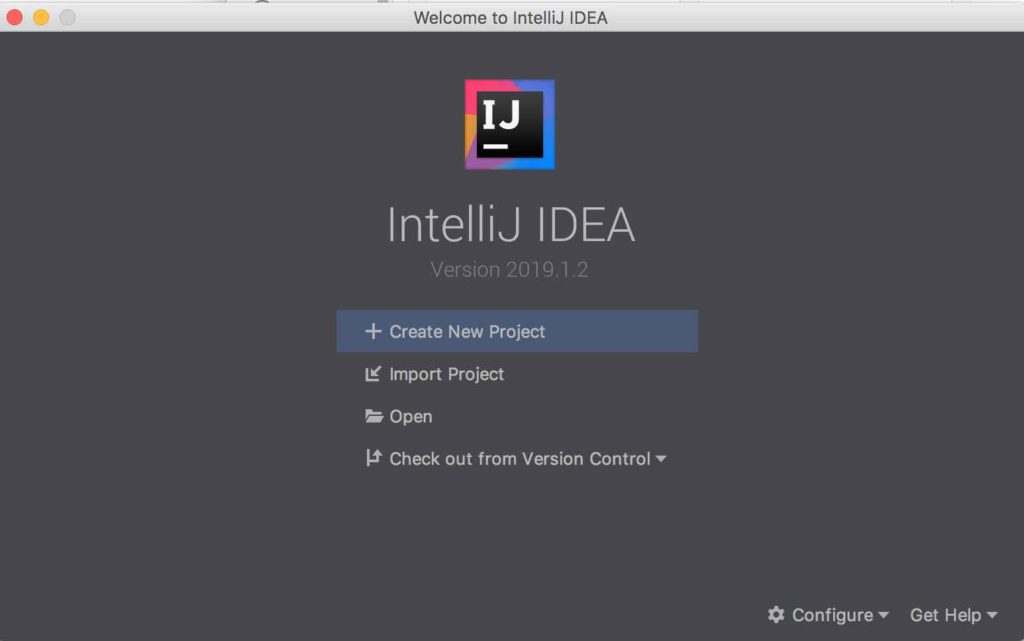
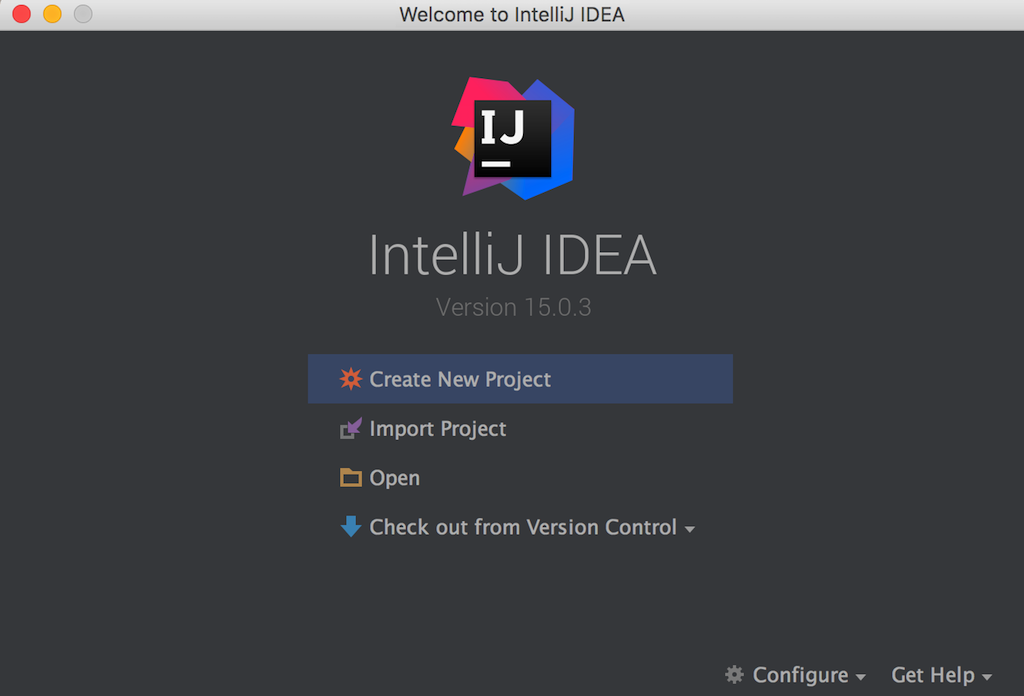
Thereafter, you should see IntelliJ’s Welcome screen, which we will use in the next section to step through the creation of a Scala project. If you do not need to install IntelliJ on Windows, then you can most certainly skip Step 2 below.
2. Install IntelliJ for windows
To install the IntelliJ IDEA, you first need to open a browser and navigate to the download page from the JetBrains website. You can then click on the Community icon, or link, to start downloading the executable onto your Windows machine.

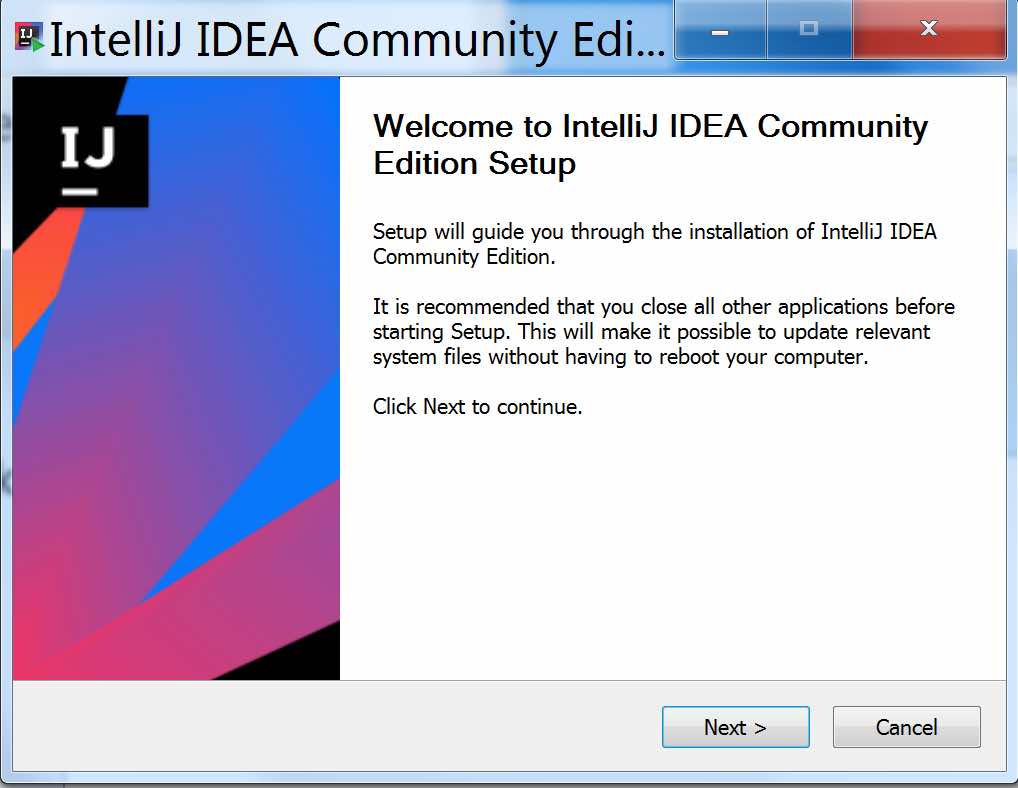
Once the download has completed, open the Downloads folder in Windows Explorer, and double click on the installation file:ideaIC-2019.1.2.exe. This will bring up the Welcome screen of IntelliJ’s setup wizard.
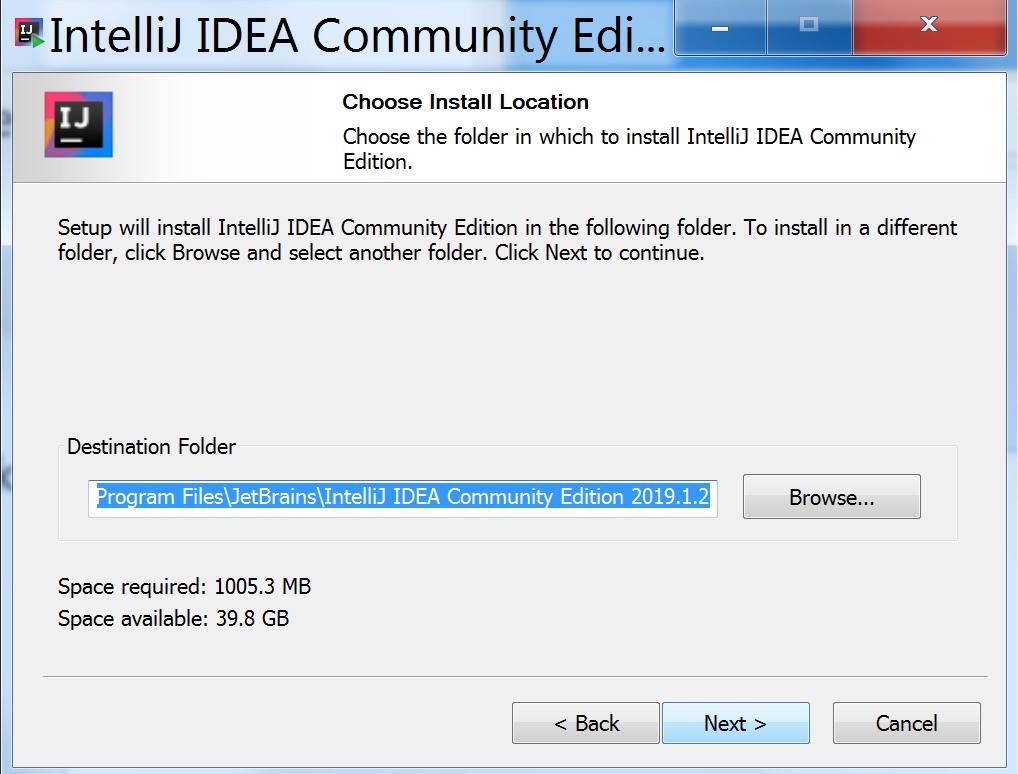
Next, you will be asked to select the location where IntelliJ will be installed, or you could go ahead with the default setup under the Program Files directory.
Thereafter, you would normally check the 64 bit launcher option to match to a 64-bit version of Windows operating system and Java Development Kit (JDK). It is also fair to assume that in most real-world enterprises, you would require the 64 bit launcher in order to work with large code base that need, say, additional memory allocations for the code editor.

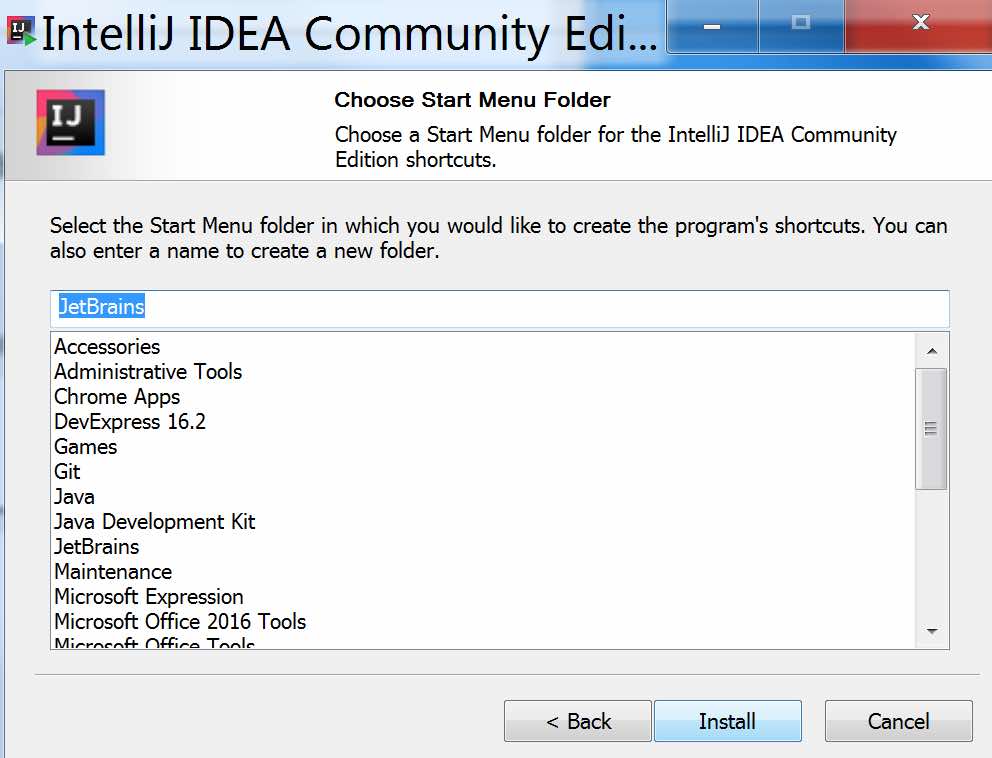
The following screen will prompt you for location of the IntelliJ IDEA under Window’s Start menu. You can go with the default of JetBrains, or provide your own customization, accordingly.
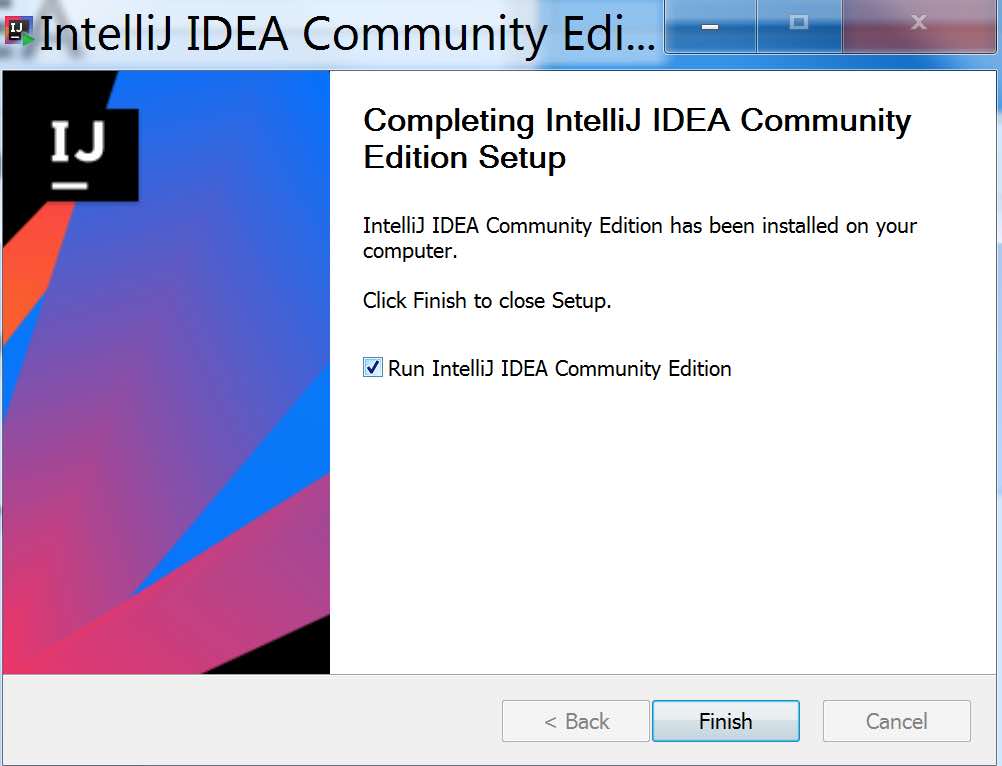
If the installation steps went well, you should see a completion message as the one below.
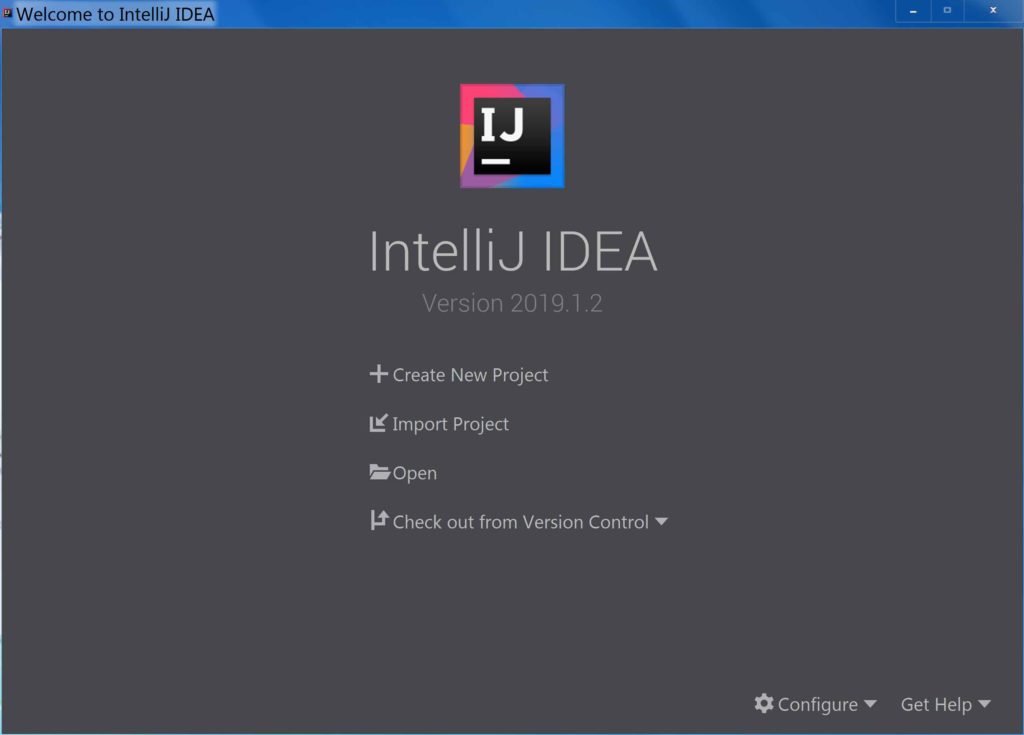
You can choose to launch the freshly installed IntelliJ IDEA, which will present you with IntelliJ’s splash screen. This allows you to run through some basic customizations - such as, the setting up of your preferred UI theme. You can choose to skip these initial setups as you can always make the necessary changes later by going through IntelliJ’s Settings menu option. Afterwards, you should see IntelliJ’s Welcome screen, which we will use in the next section to step through the creation of a Scala project.
3. Launch IntelliJ and change default setting to Dracula:
After you've installed the IntelliJ IDEA code editor on either a Mac or on Windows, you can follow the instructions below to subsequently find and launch it.
Click on IntelliJ icon from either Step 1 or 2 to launch IntelliJ.
On Mac:

On Windows:
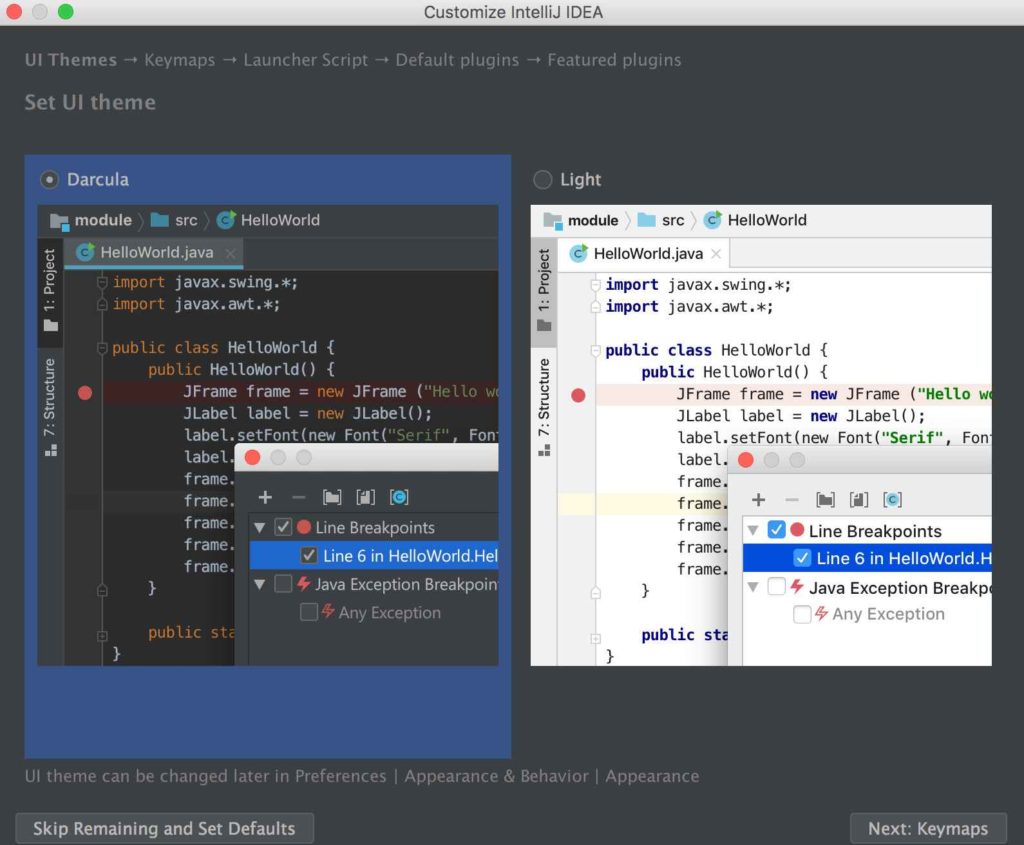
You will be prompted to select the UI theme. Select the Dracula Theme if you prefer a darker background.
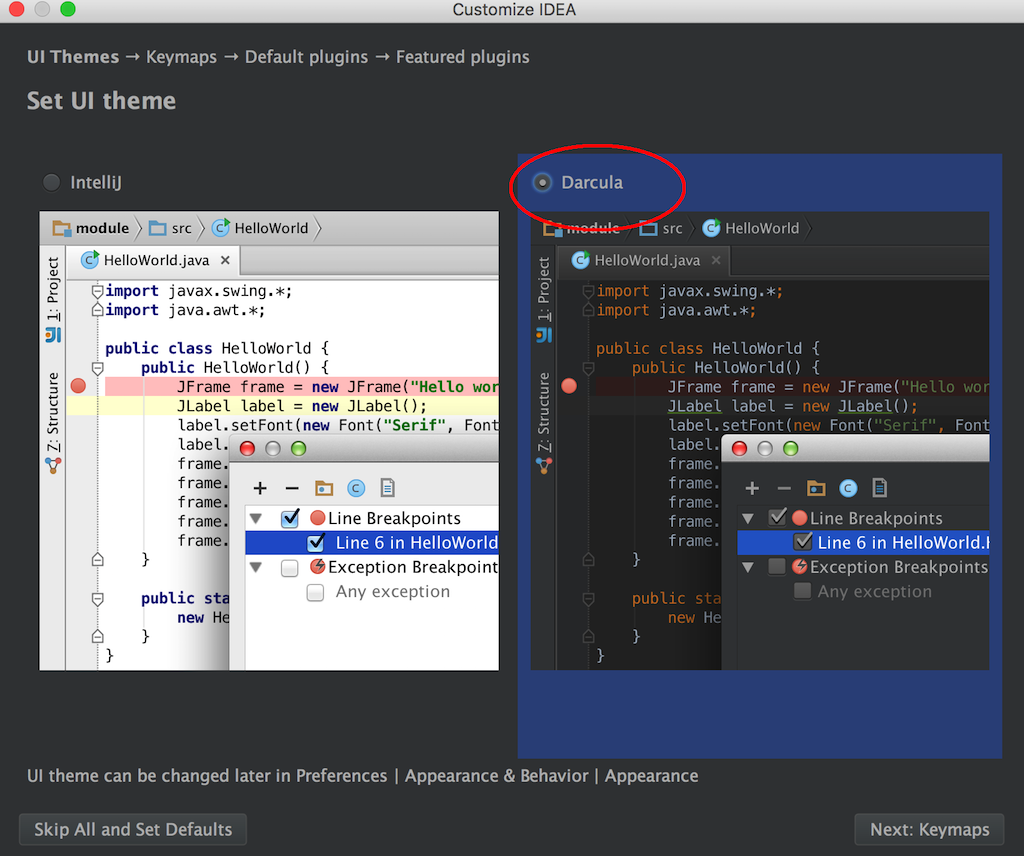
You can click the button on the left hand panel named Skip all and Set Defaults. This will launch the IntelliJ main window.
This concludes our tutorial on Scala Environment Setup - Install IntelliJ IDEA Version 2019 and I hope you've found it useful!
Stay in touch via Facebook and Twitter for upcoming tutorials.
Don't forget to like and share this page 🙂
Summary
In this article, we went over the following:
- How to install the IntelliJ IDE on a Mac or on Windows.
- How to default the IntelliJ theme to Dracula black.
Tip
-
If you have a Linux operating system, such as, Ubuntu or other similar Linux distribution, you can install the IntelliJ IDEA code editor from JetBrain’s download page, and/or follow along with the instructions from the It’s FOSS blog.
Source Code
The source code is available on the allaboutscala GitHub repository.
What's Next
In the next tutorial, we will go over the Scala plugin for IntelliJ which will allow us to easily create and run our Scala applications within IntelliJ.
Stay tuned!


