Scala Environment Setup – Install Open Java Development Kit (OpenJDK)
Overview
In this tutorial, we will go over how to install the open source Open Java Development Kit, also known as the OpenJDK. As of April 16, 2019, there has been significant changes to the license agreement for the Oracle JDK.
You are not restricted for, say, personal use, but should consider the terms and verify with your administrator if you are in an enterprise context, accordingly. In parallel, Oracle is also committed to open-source alongside other major contributors through the OpenJDK initiative. As a result, you will find a number of OpenJDK binaries from different providers, such as, Amazon, Azul Systems, RedHat, AdoptOpenJDK, among others. For the purpose of running our Scala examples, you can make also make use of the binary from AdoptOpenJDK. But, of course, you are free to use whichever JDK is more appropriate for your line of work or for just getting started with Scala - just make sure that you are using a Java 8 JDK if you are using Scala version 2.12 or 2.13.
Steps
1. Verify OpenJDK is installed
Most computers already ship with some JDK installation, and especially if you are in an enterprise context. We’ll use the steps below to check if you already have one installed and if it is the correct JDK 8 version that we will use for Scala 2.12.0 or 2.13.0.
On a Mac:
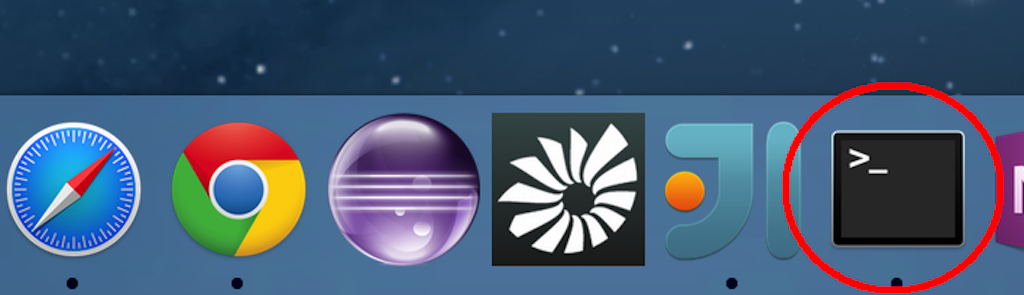
If you are using a Mac, you may already have the JDK installed. To confirm, open a terminal window by clicking on the terminal icon:
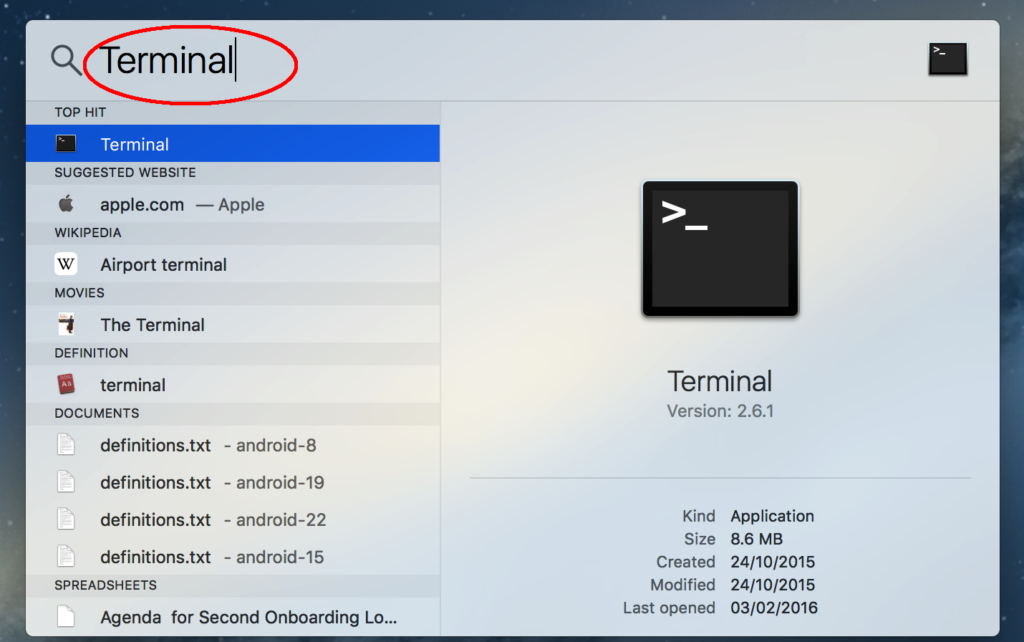
If you do not have a terminal icon as shown above, click on the search icon in the top right corner of the Mac menu bar in order to open the Spotlight search:

In the Spotlight search textbox, type in Terminal and then hit enter to open it:
Next, to confirm that you have Java already installed, type the following command in the terminal window: java -version

If you see a Java version printed on the screen, you've already got the runtime! You can now skip the rest of this tutorial and move on to the next tutorial: Install IntelliJ IDE.
On Windows:
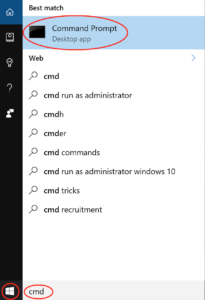
Open a Command Prompt window by going to the Windows Start menu and type in cmd in the search box. This will bring up a list of matching items and click or press enter on the Command Prompt item as shown below:
This will then open up the Windows Command Prompt as follows:
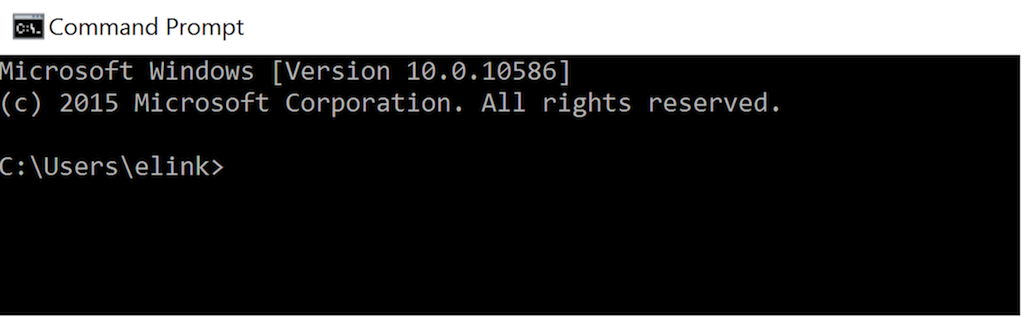
Next, to confirm that you have the JDK already installed on your Windows computer, type in the following command in the Windows Command Prompt window: java -version
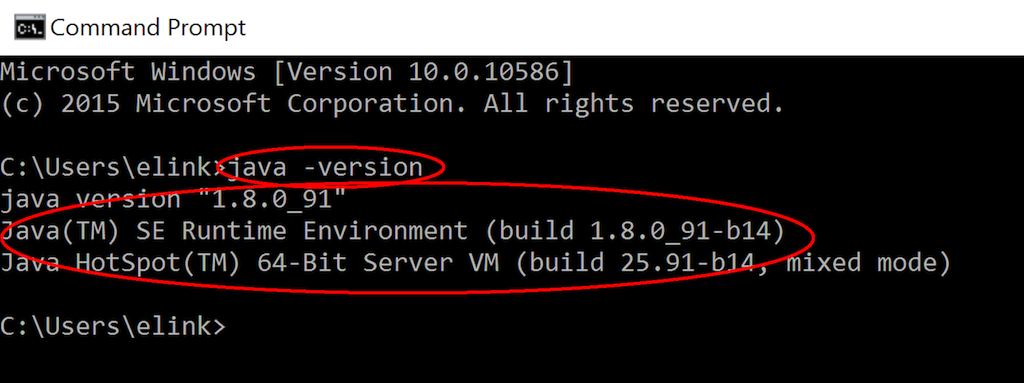
If you see a Java version printed on the screen, you've already got the runtime! You can now skip the rest of this tutorial and move on to the next tutorial: Install IntelliJ IDE.
2. Install OpenJDK on Mac
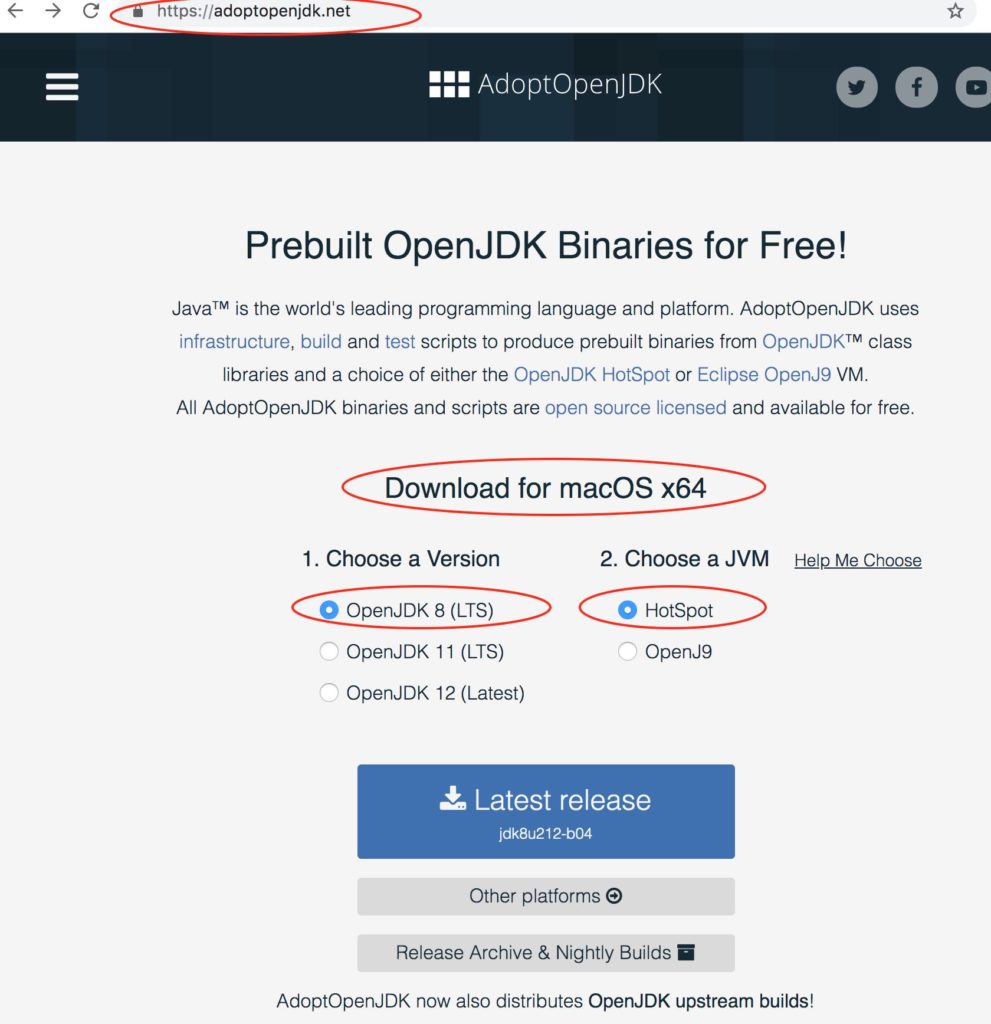
If you don't have a JDK installed, proceed to the AdoptOpenJDK website and choose the OpenJDK 8 version along with the HotSpot JVM.
When the download is completed, you will find the .dmg installation file in the Downloads section of Finder.
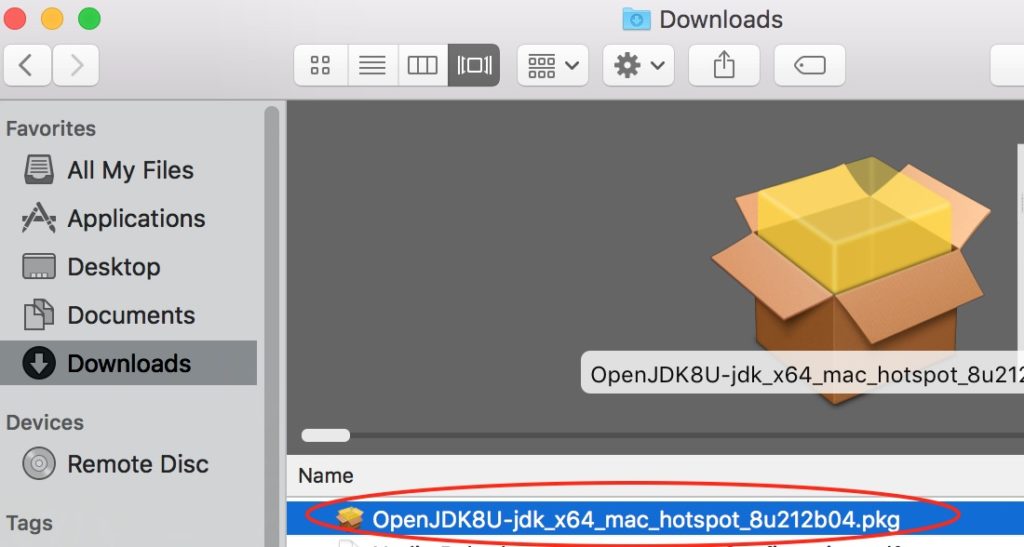
Double click on the above .dmg file to launch the installation wizard.

Click on the Continue button to proceed to the next screen, which is the License Agreement.
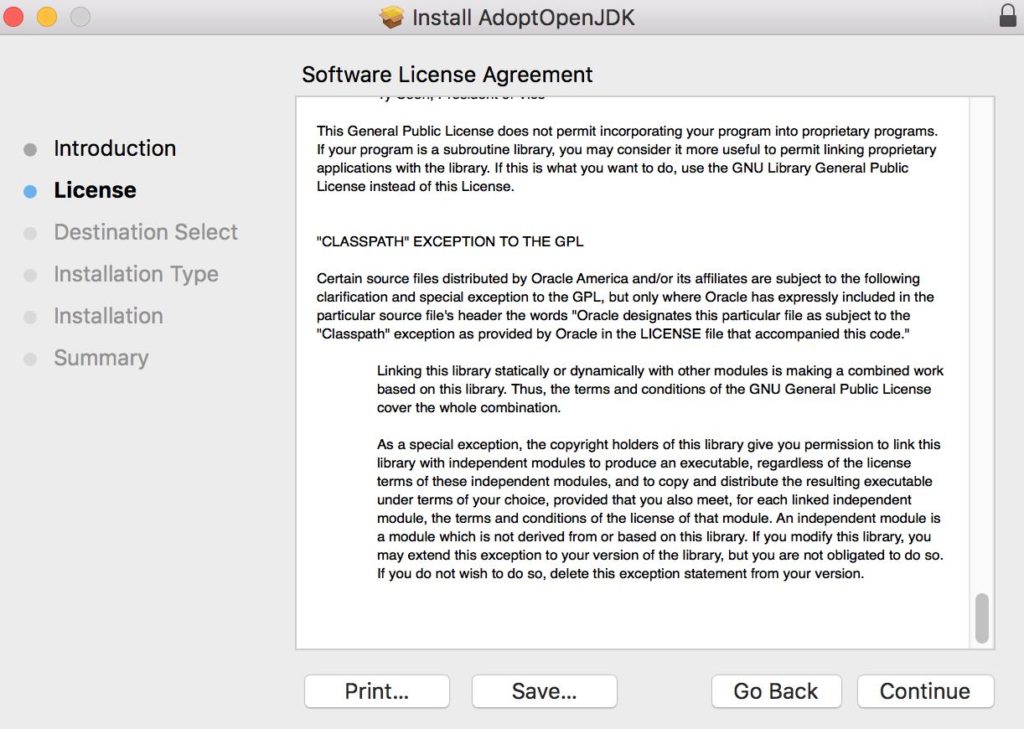
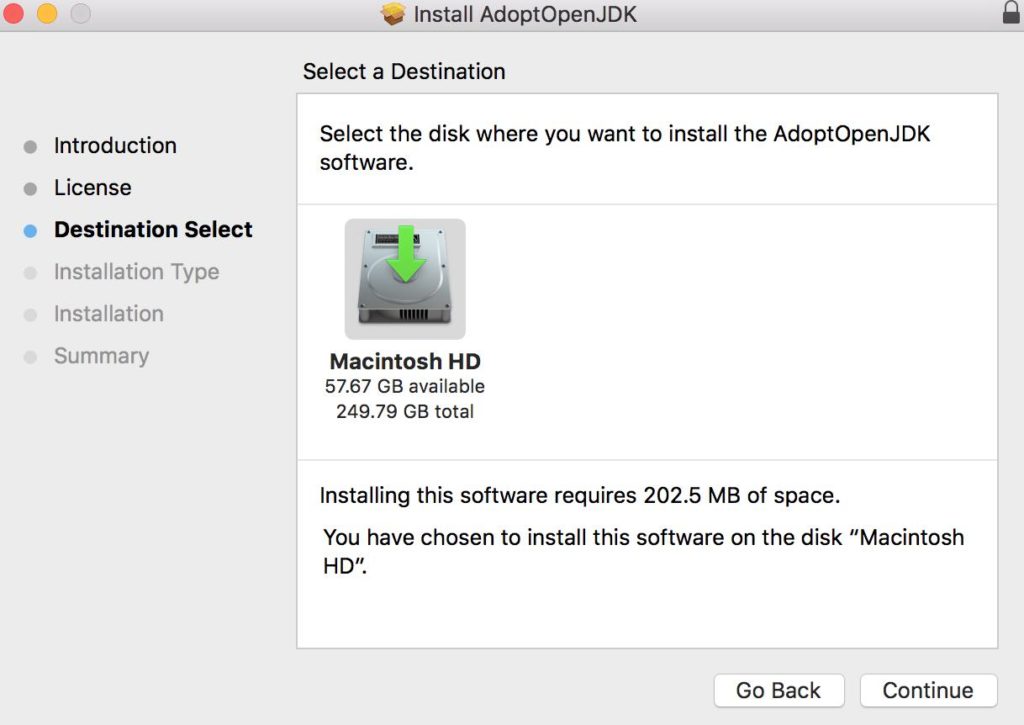
Click on the Continue button to proceed to the Destination screen.
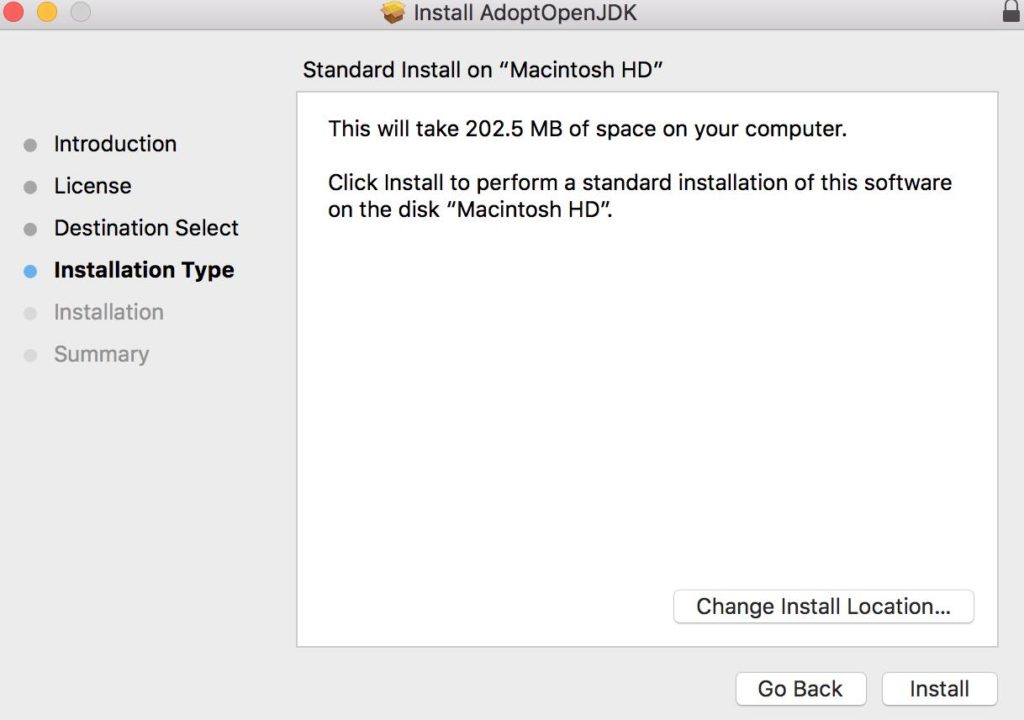
Next is the Installation screen, and click on the Install button to start the installation steps.
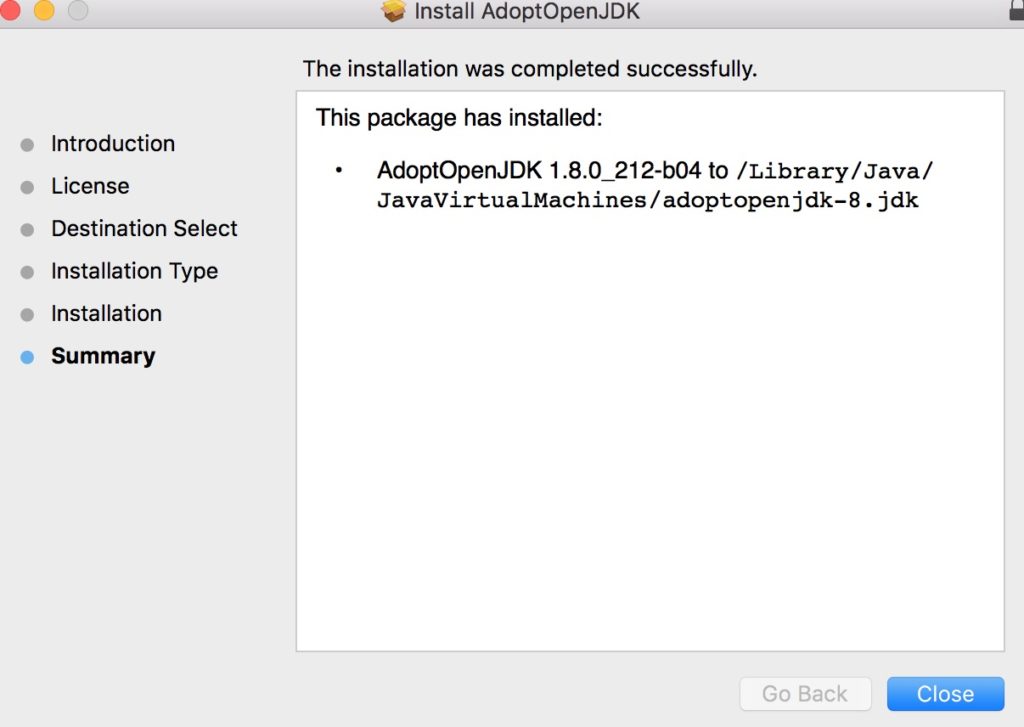
When the installation has completed, you will see a successful message displayed. Click on the Close button to close the installation window.
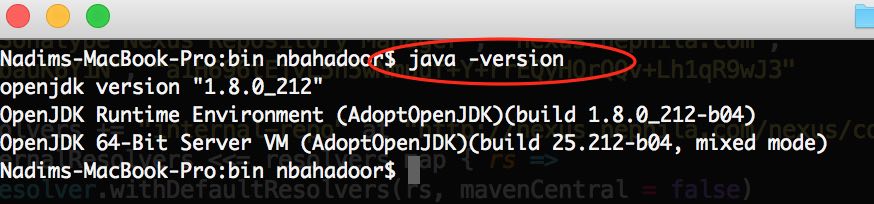
Similar to Step 1, open a Terminal window and type in the java -version command to confirm that you now have OpenJDK 8 installed.
3. Install OpenJDK on Windows
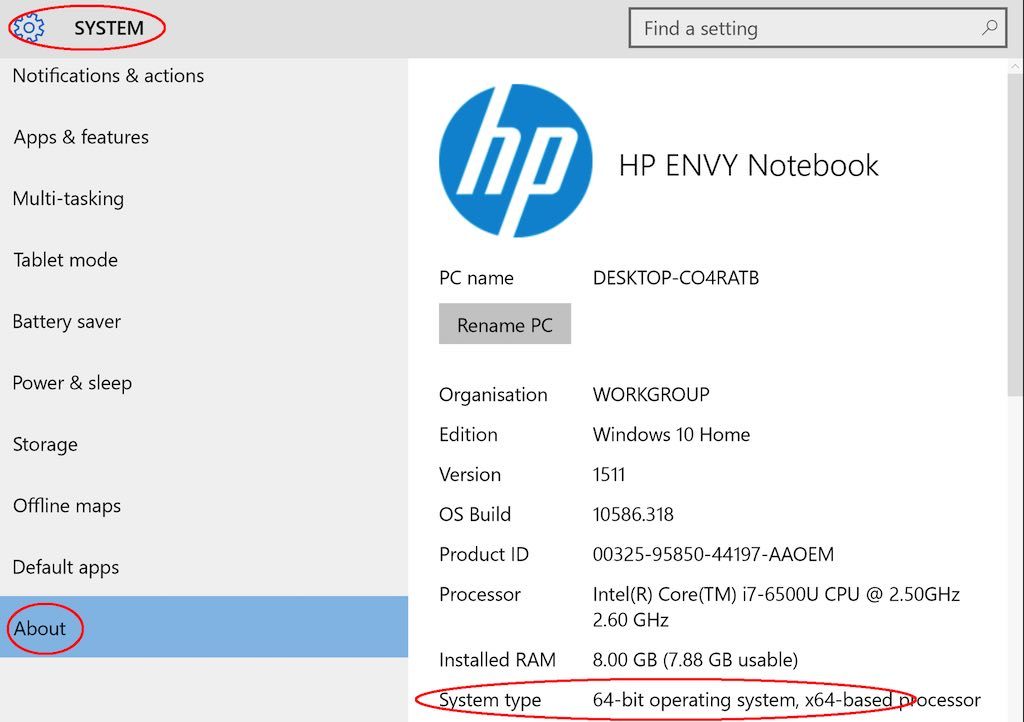
Before you proceed with the JDK installation on Windows, it is worth checking that your Windows operating system is running a 32 bit or 64 bit version. From the Windows Start menu, select Settings and then the About menu. If you are on different Windows version, you can follow the instructions from Microsoft support to check the particular bit version of your operating system.
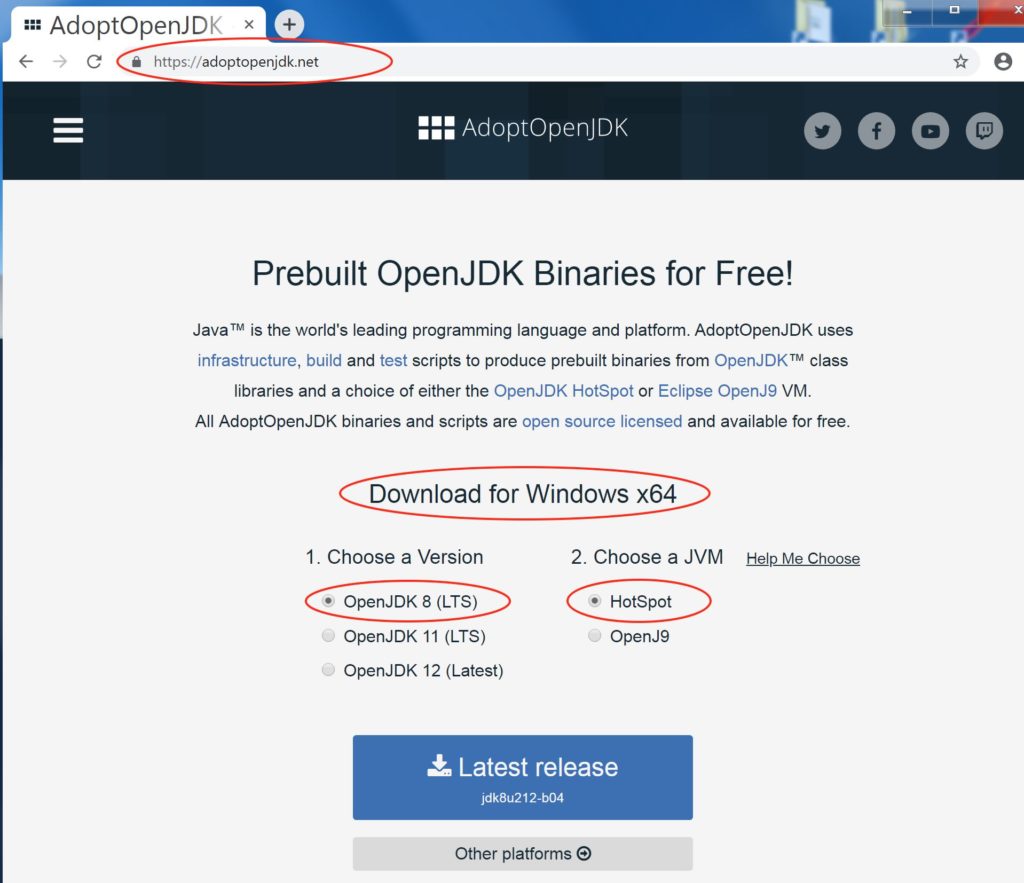
If you don’t have a JDK installed, proceed to the AdoptOpenJDK website and choose the OpenJDK 8 version along with the HotSpot JVM.
When the download has completed, you will find the .msi installation file in the Downloads section of Windows Explorer.
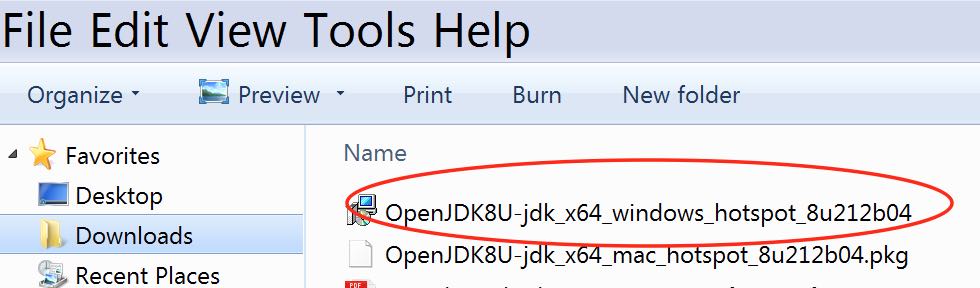
Double click on the above .msi file to launch the installation wizard.
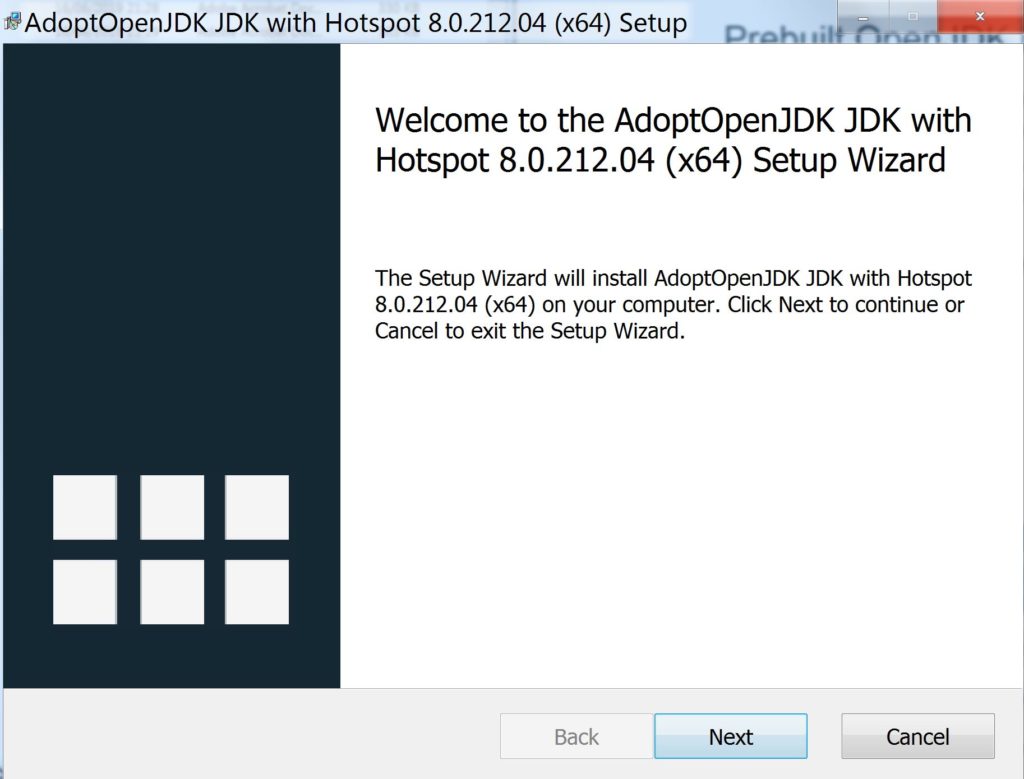
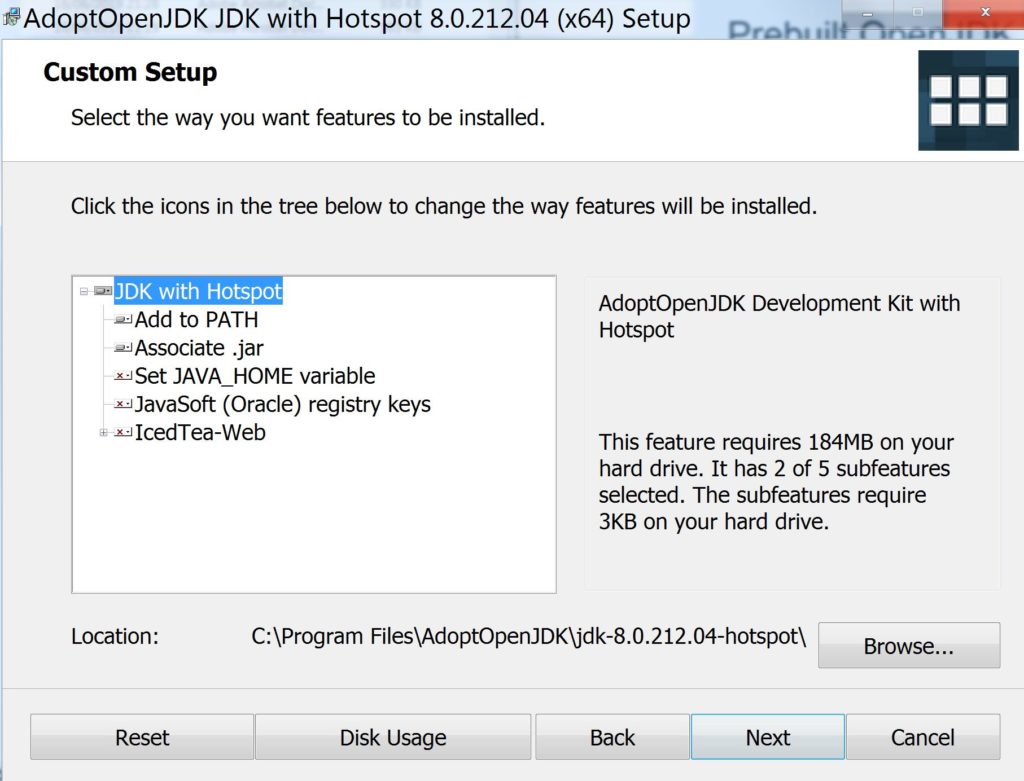
Click on the Next button to proceed to the Customization screen. You can customize your installation or accept the default options, respectively.
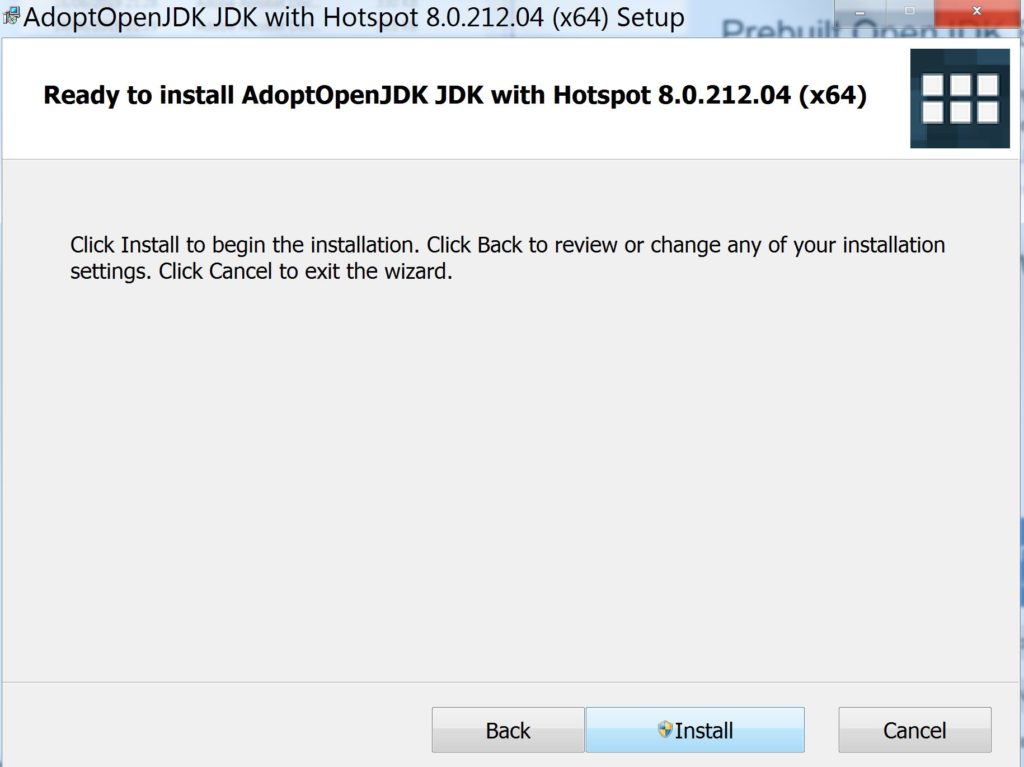
Next is the Installation screen, and click on the Install button to start the installation process.
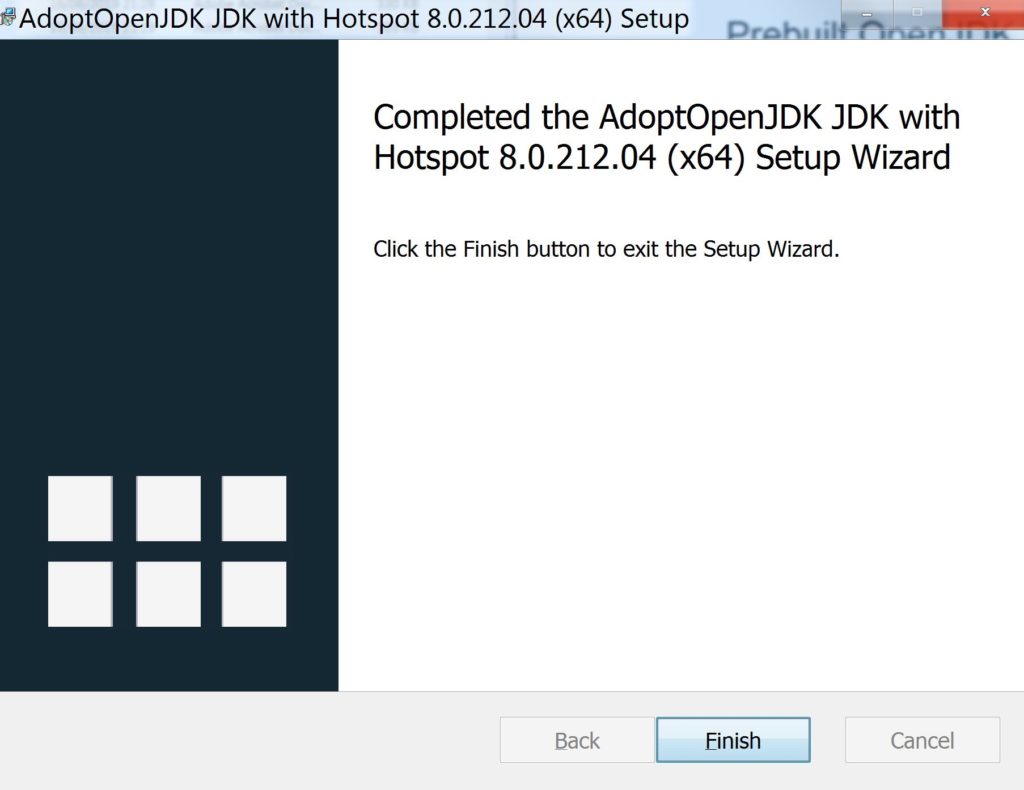
When the installation has completed, you will see a successful message displayed. Click on the Finish button to close the installation window.
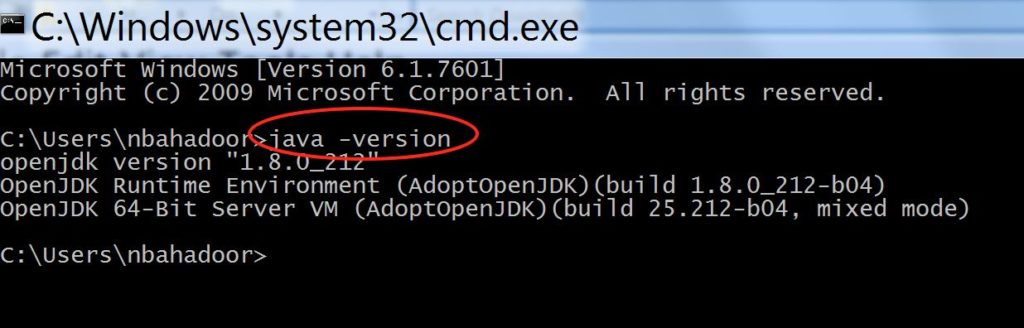
Similar to Step 1, open a Command Prompt window and type in the java -version command to confirm that you now have OpenJDK 8 installed.
This concludes our tutorial on Scala Environment Setup - Install Open Java Development Kit (OpenJDK) and I hope you've found it useful!
Stay in touch via Facebook and Twitter for upcoming tutorials.
Don't forget to like and share this page 🙂
Summary
In this article, we went over the following:
- How to verify you have OpenJDK already installed.
- How to install OpenJDK on Mac or Windows.
Tip
- Follow the instructions accordingly from AdoptOpenJDK if you have a different operating system, such as, Linux or some other Linux distribution.
Source Code
The source code is available on the allaboutscala GitHub repository.
What's Next
In the next tutorial, I will go over how to install the IntelliJ Integrated Development Environment to help us write and execute our Scala code.


