Scala Environment Setup – How to install the Scala plugin in IntelliJ version 2019?
Overview
The previous tutorial also illustrated how to install the Scala Plugin for the IntelliJ IDEA code editor. However, as of the IntelliJ IDEA version 2019, the general plugin screen has undergone some changes. As a result, this tutorial, will cover installing the Scala plugin using the most recent IntelliJ IDEA version 2019. If you have an older version of the IntelliJ IDEA code editor, you can still refer to the previous tutorial for the corresponding instructions.
If you are relatively new to Scala, and the IntelliJ IDEA code editor, there is no need to worry, as the steps to install the Scala Plugin is very straightforward.
Steps
1. Start IntelliJ
If you have followed the previous tutorials, you should have the most recent IntelliJ IDEA code editor version 2019 already installed.
On Mac, click on the icon in your taskbar.

On Windows, click on IntelliJ menu item from your Windows Start menu:

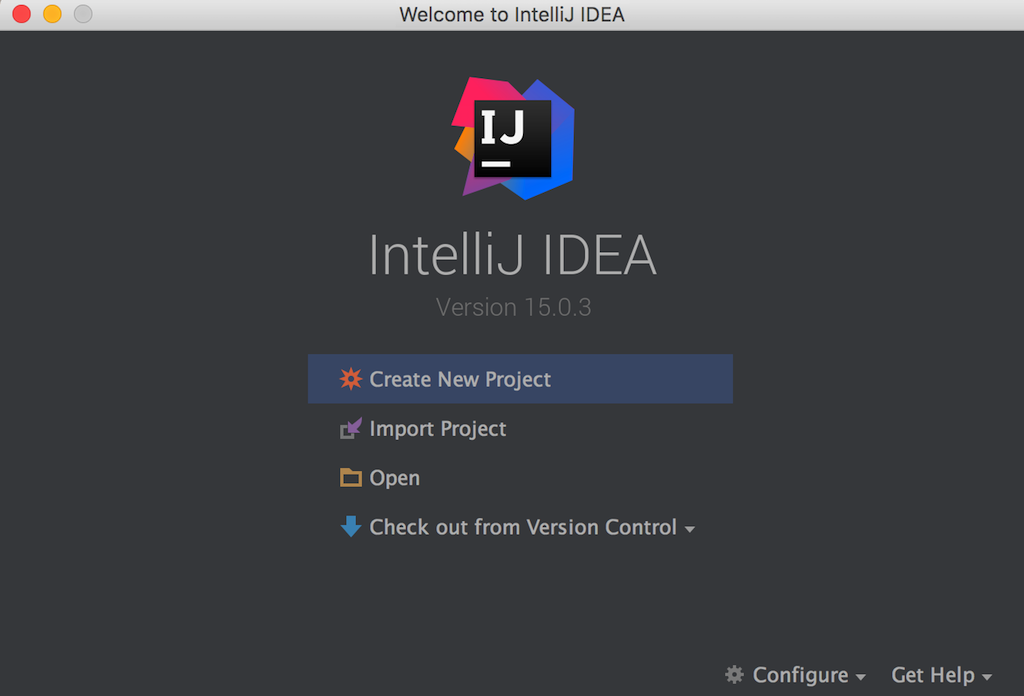
This will open the IntelliJ IDEA code editor's welcome window:

NOTE:
- If you don't have the most recent IntelliJ IDEA code editor version 2019 installed, just go back and follow the previous tutorials from Chapter 1.
2. Open IntelliJ preferences
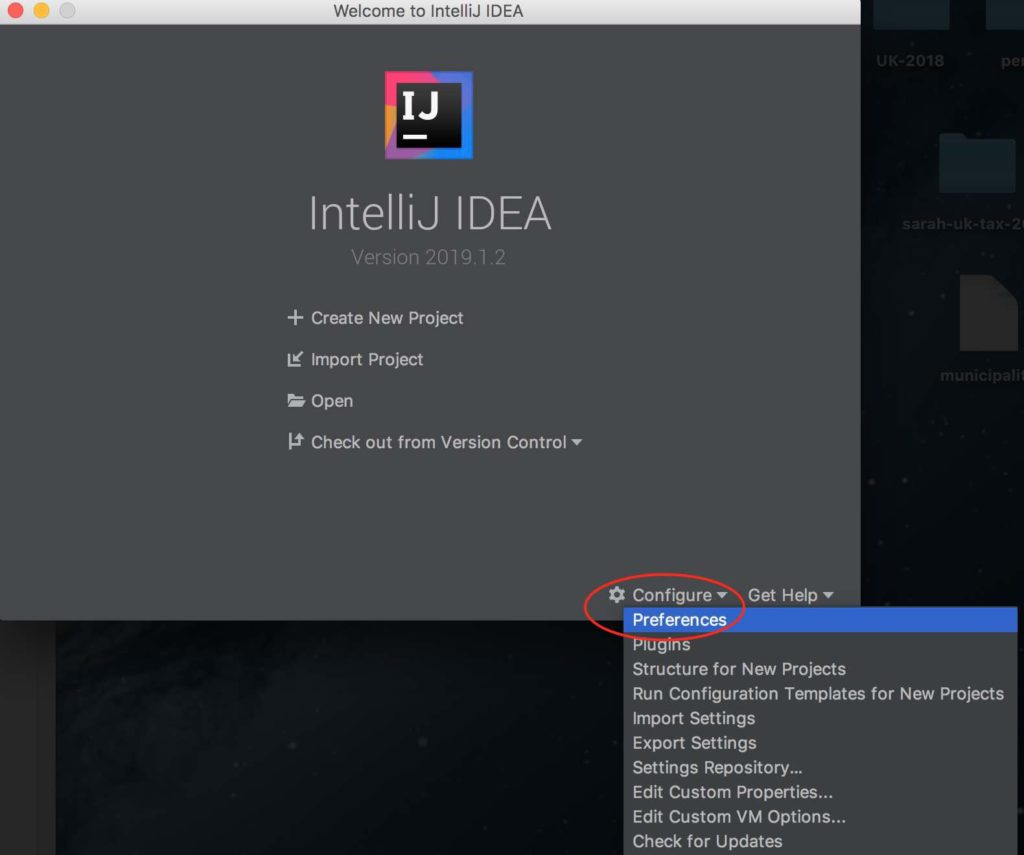
On Mac, select the Preferences menu item from the Configure menu as shown below.

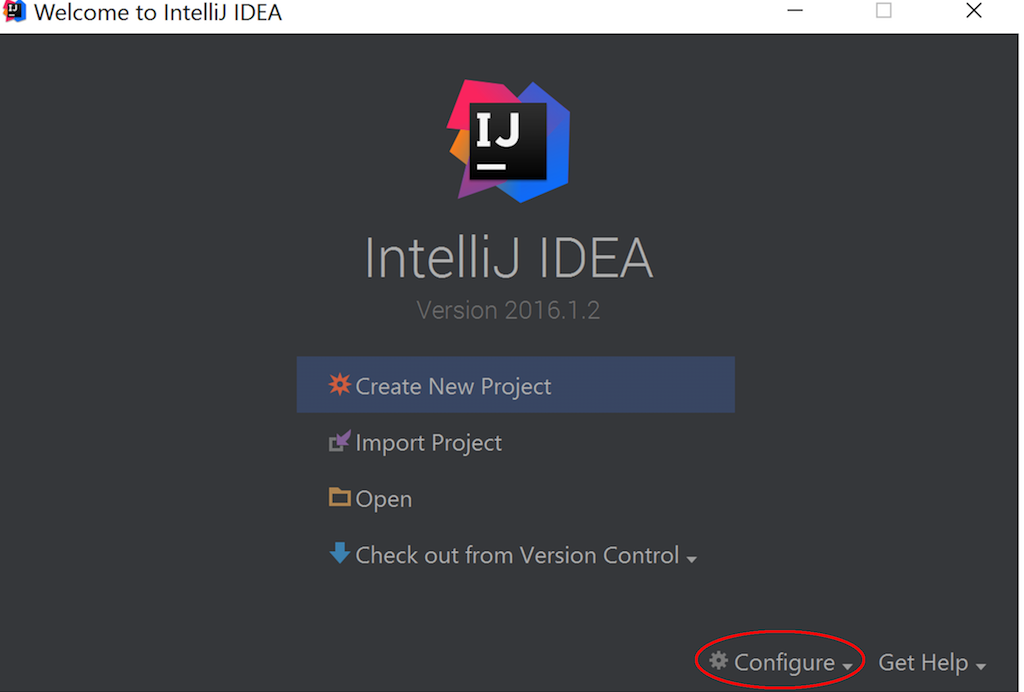
On Windows, click on the Configure and then select the Settings menu item from the Welcome Window in Step 1:

3. Find and install Scala Plugin
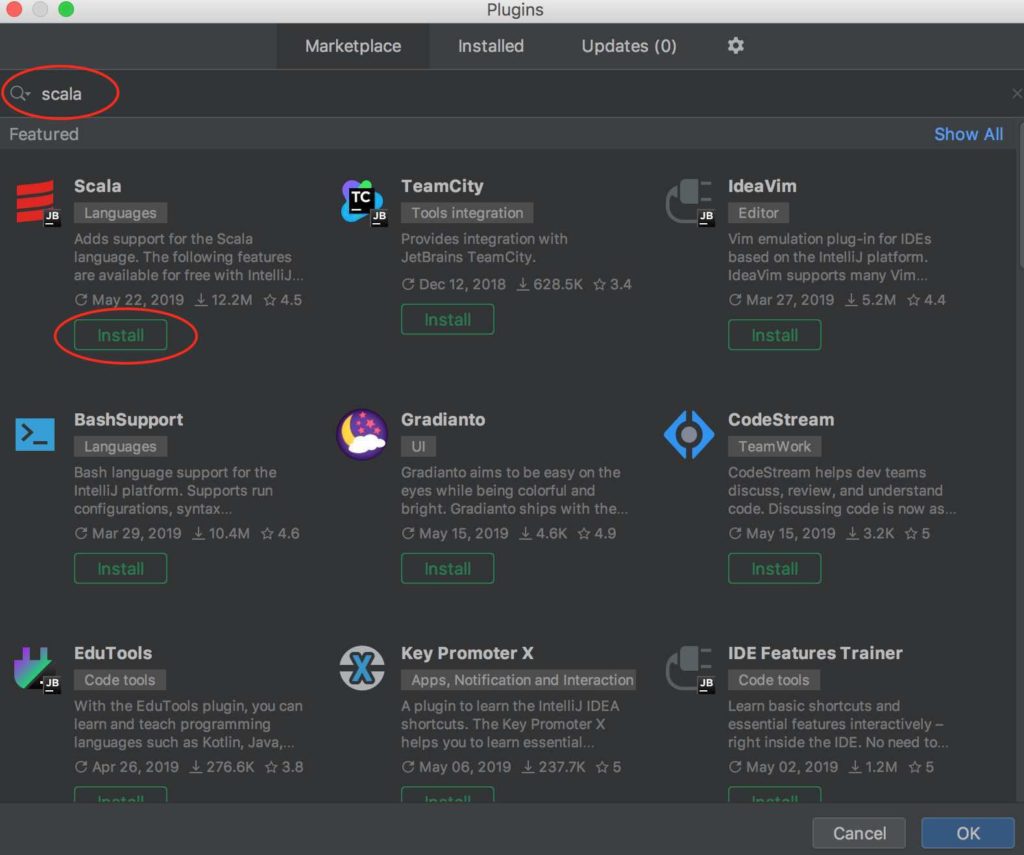
Once you have opened the Preferences, or Settings, screen you can click on the Plugins section. Next, you can type Scala in the search box, and this should bring up the Scala Plugin details. Click on the Install button of the Scala Plugin to install it.

When the installation has completed, you will typically have to restart the IntelliJ IDEA code editor. Follow the restart instructions, accordingly.
That's it! You have successfully installed your first IntelliJ IDEA plugin, and it was the handy Scala plugin that will help you easily create, compile, and run, our Scala application within the comfort of the IntelliJ IDEA code editor.
This concludes our tutorial on Scala Environment Setup - How to install the Scala plugin in IntelliJ 2019 and I hope you've found it useful!
Stay in touch via Facebook and Twitter for upcoming tutorials.
Don't forget to like and share this page :)
Summary
In this article, we went over the following:
- How to install the Scala plugin in the IntelliJ IDEA code editor version 2019.
Tip
- As the Scala language moves forward with, say, new versions or features, these will certainly make their way into the Scala plugin. Over time, therefore, you will have to update the Scala plugin to benefit from respective latest upgrades. As a matter of fact, the same is true for working with the latest version of the IntelliJ IDEA - you should update to its latest version.
Source Code
The source code is available on the allaboutscala GitHub repository.
What's Next
In the next tutorial, you will write your first Scala application which will be a simple Hello World application. But, you will be using your IntelliJ IDE and the Scala plugin that we have installed in this tutorial.
Stay tuned!
Share this article on


